
Follow the few steps:
https://docs.appspace.com/signs/5.5/user-guides/widgets/standard-widgets/media-zone-linking/
Dimensions of Playlist:
1703 pixels wide by 958 pixels tall
Here are the settings you need to select to link the Main Campus Playlist: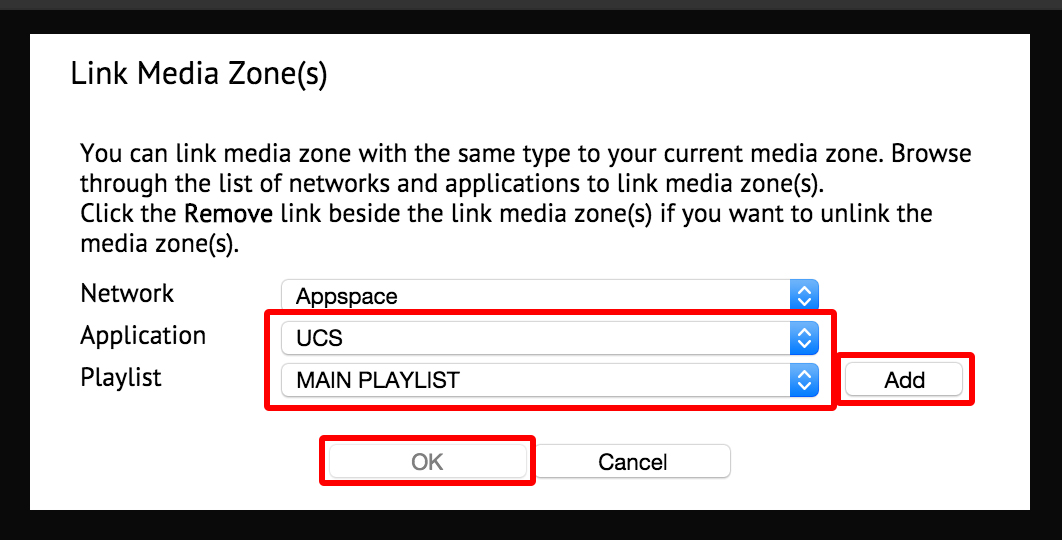

https://docs.appspace.com/signs/5.5/user-guides/widgets/standard-widgets/media-zone-linking/
1703 pixels wide by 958 pixels tall
Login to AppSpace, http://grover.wou.edu/app/login.aspx
Your media should be 1703px wide by 958px tall.
Click on the menu icon and select Content Library from the dropdown.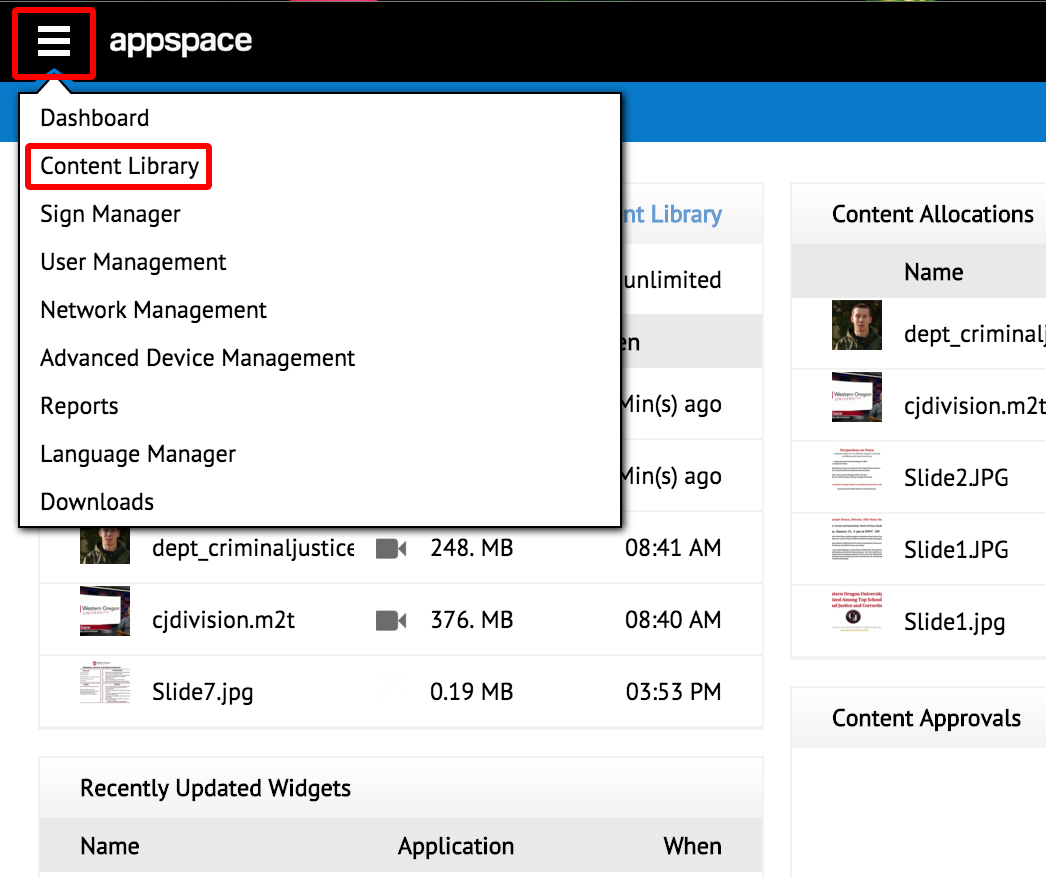
Select the folder you would like to add the media to. (You can create a folder by clicking on the + button under the Folders if you would like.) Click the + button under My Library to add media.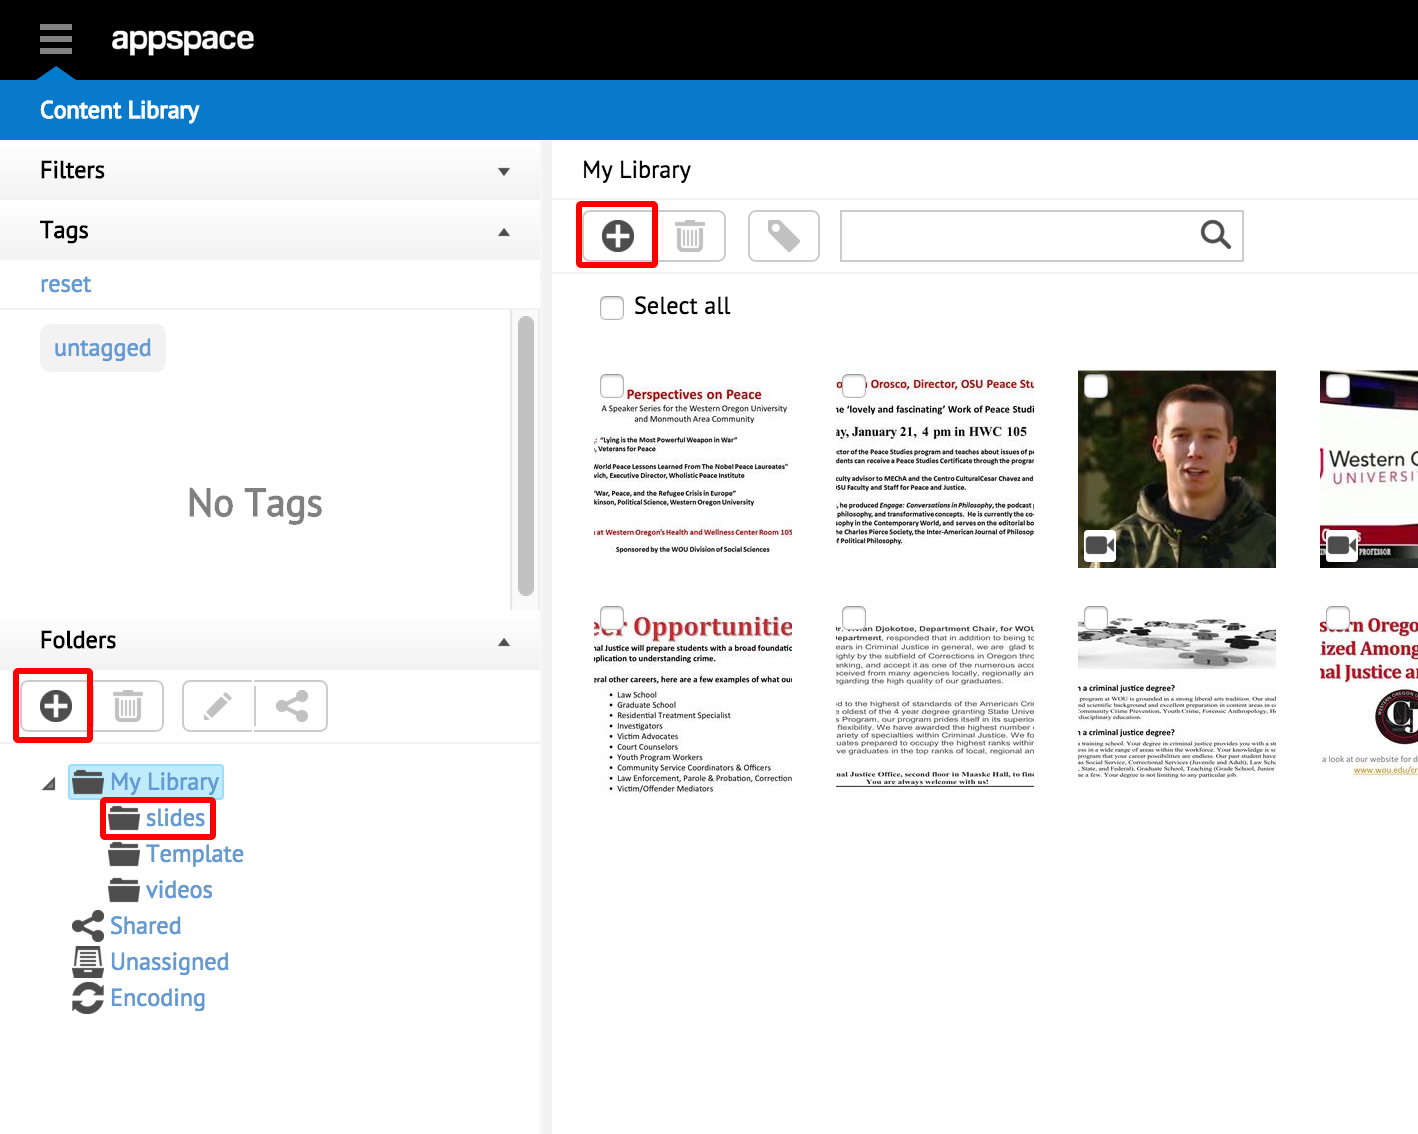
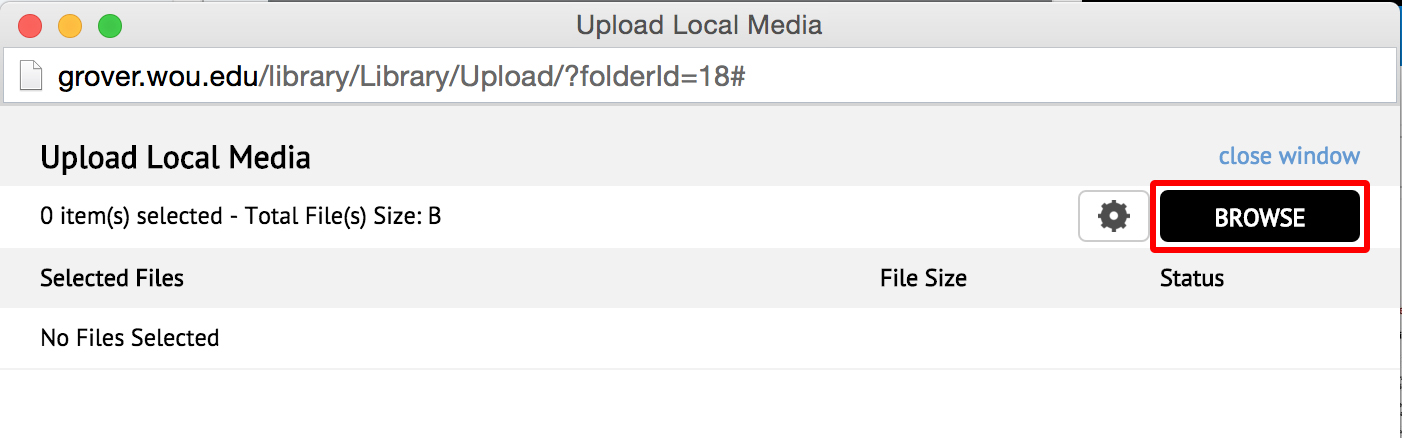
Click on Upload Local File.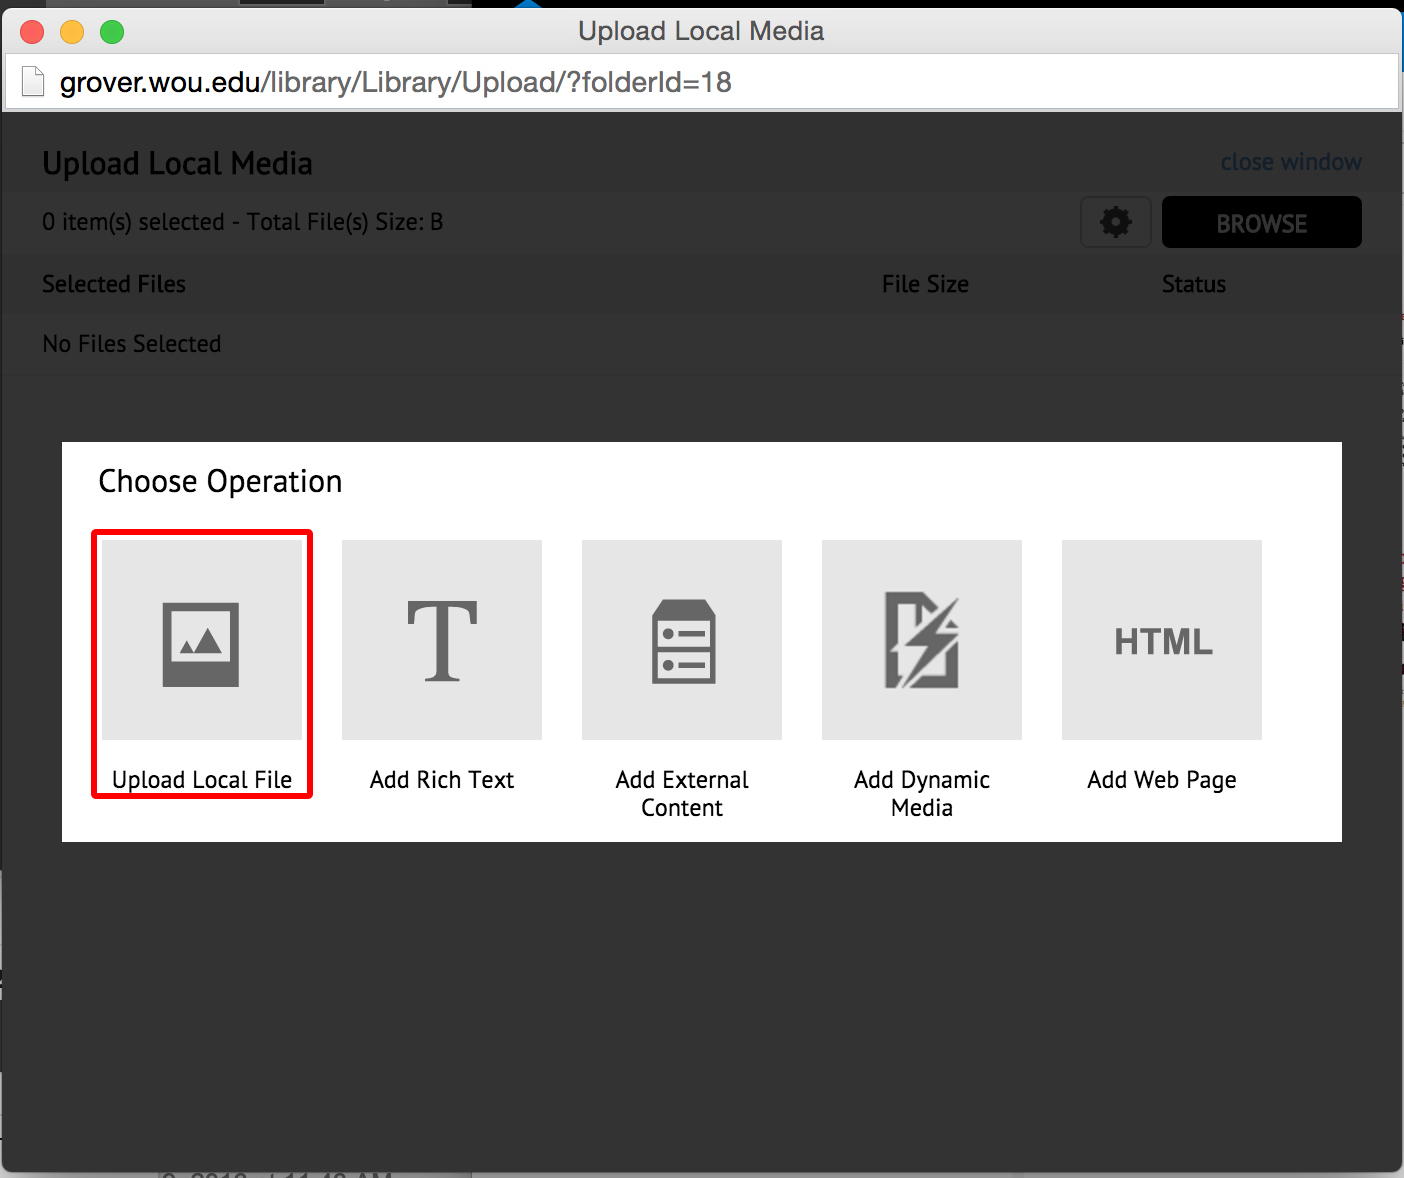
Click the Browse button.
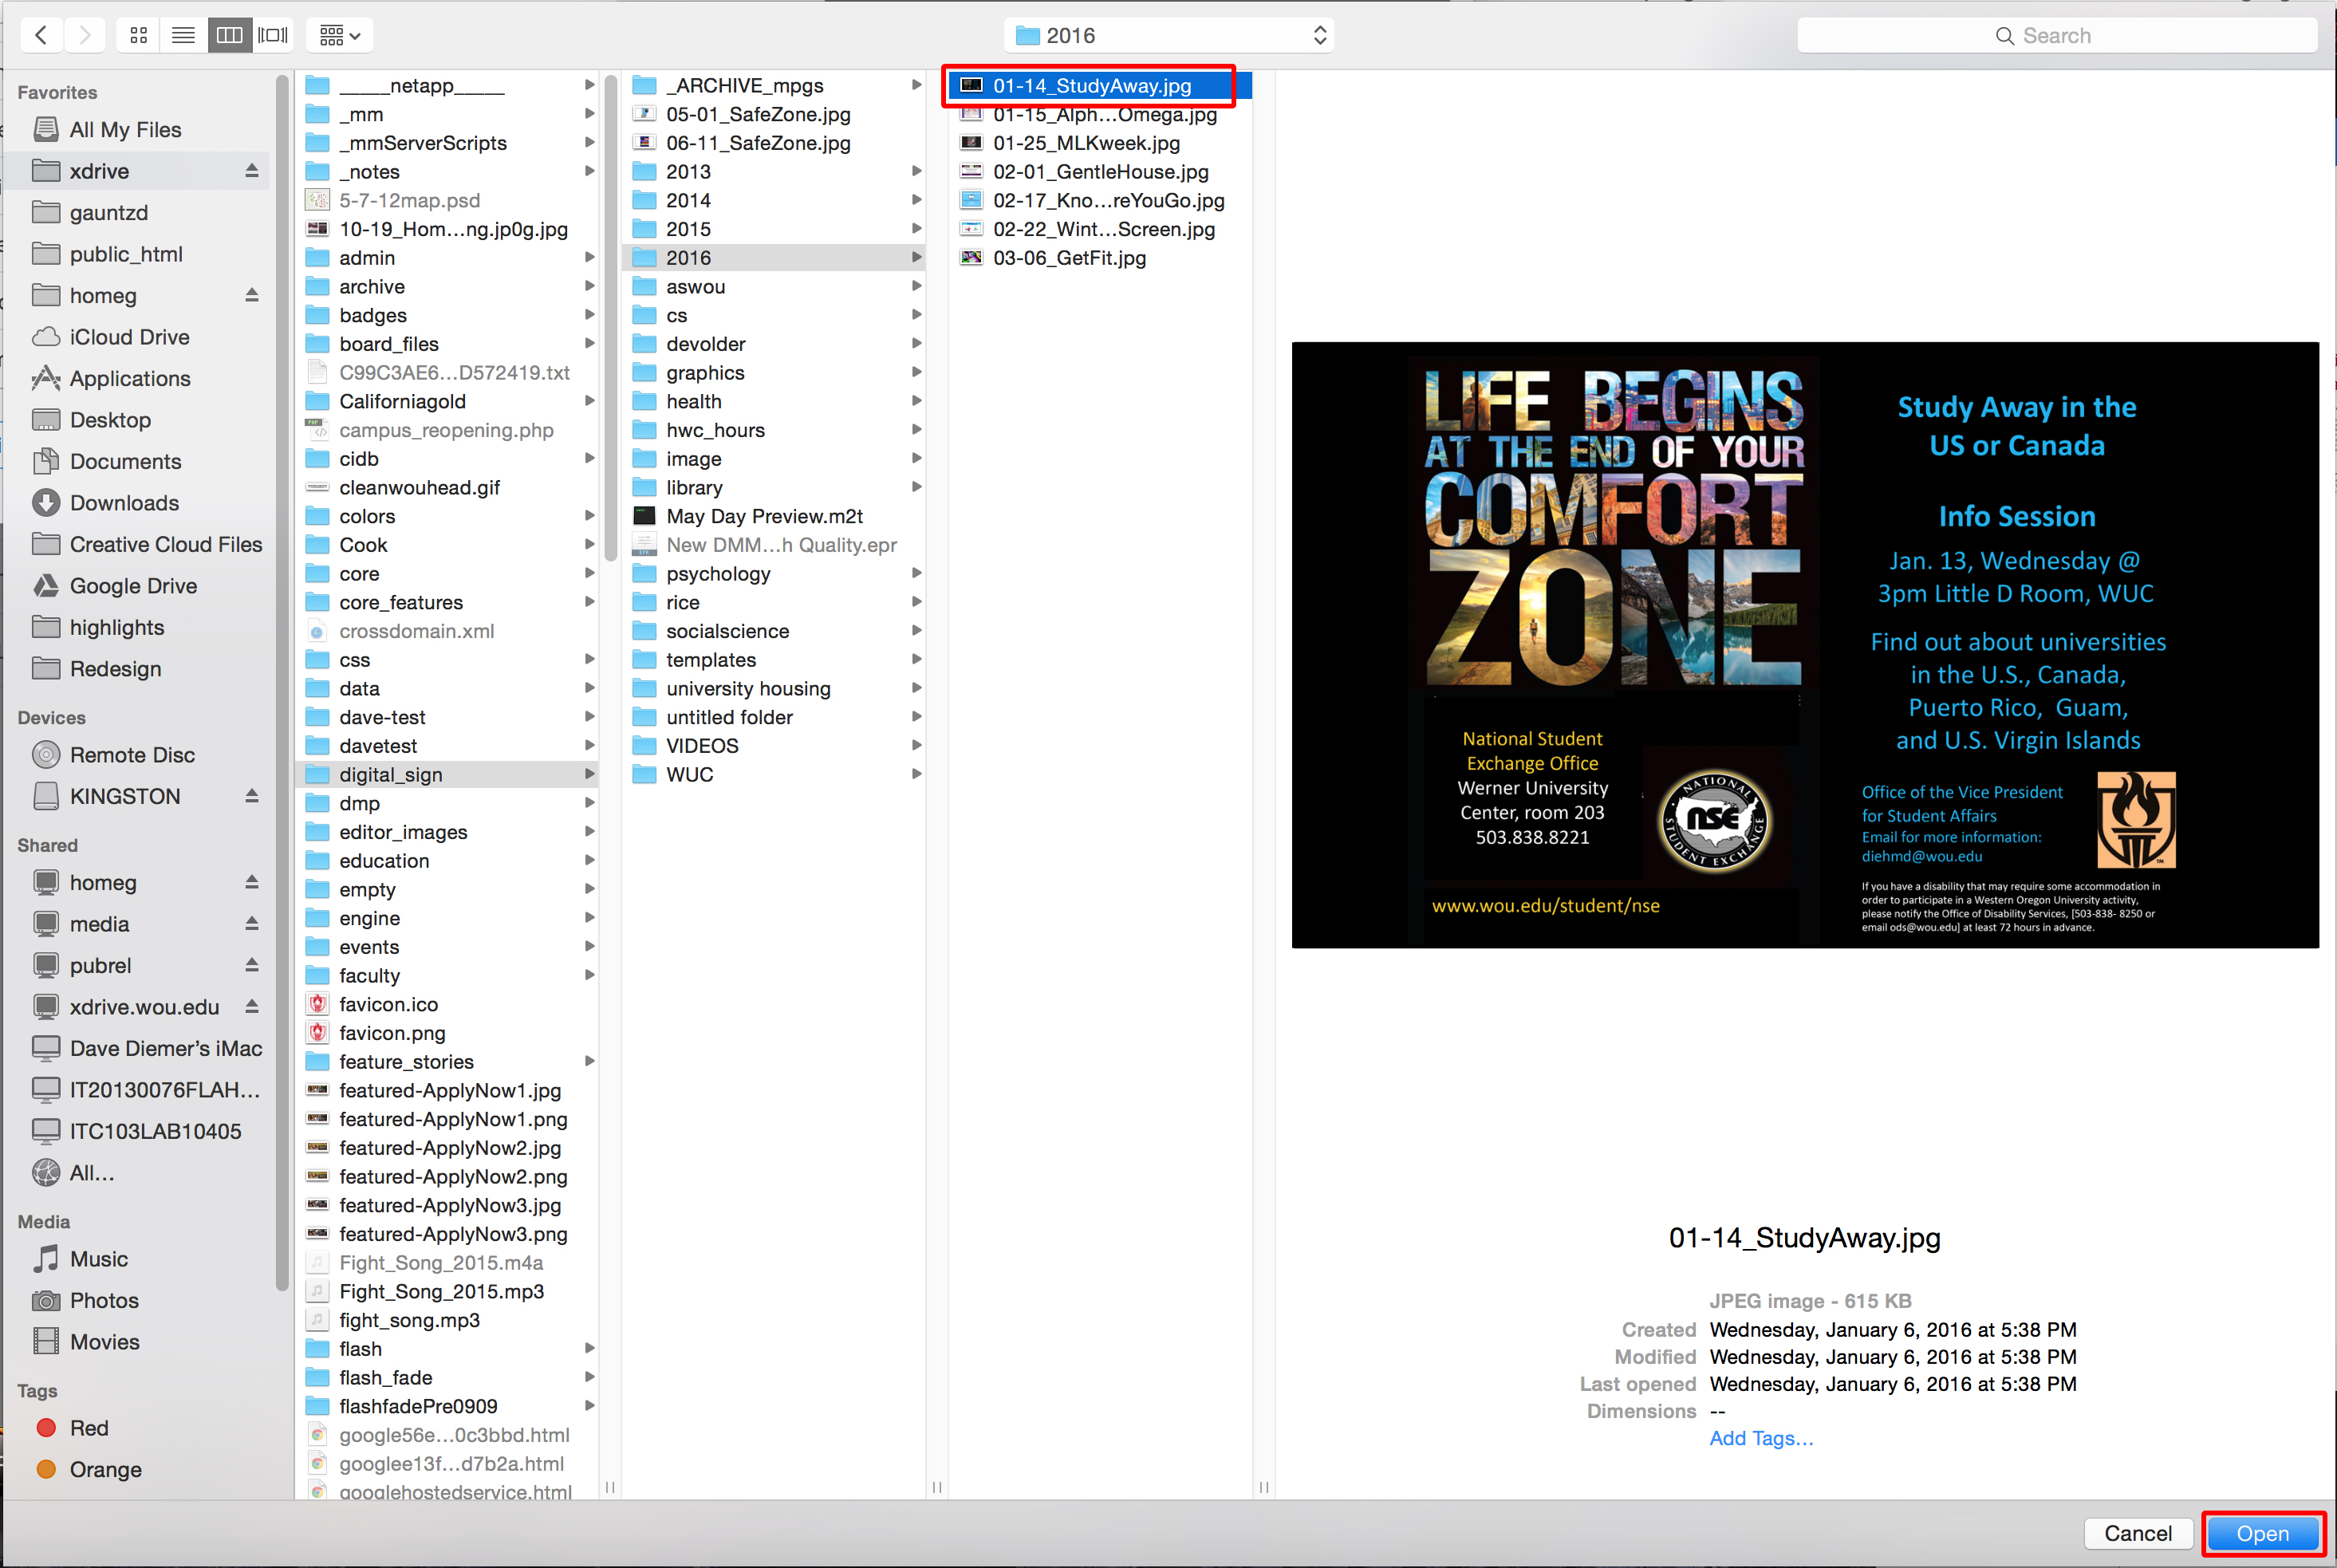
Navigate to the media file you would like to add and click the Open button.
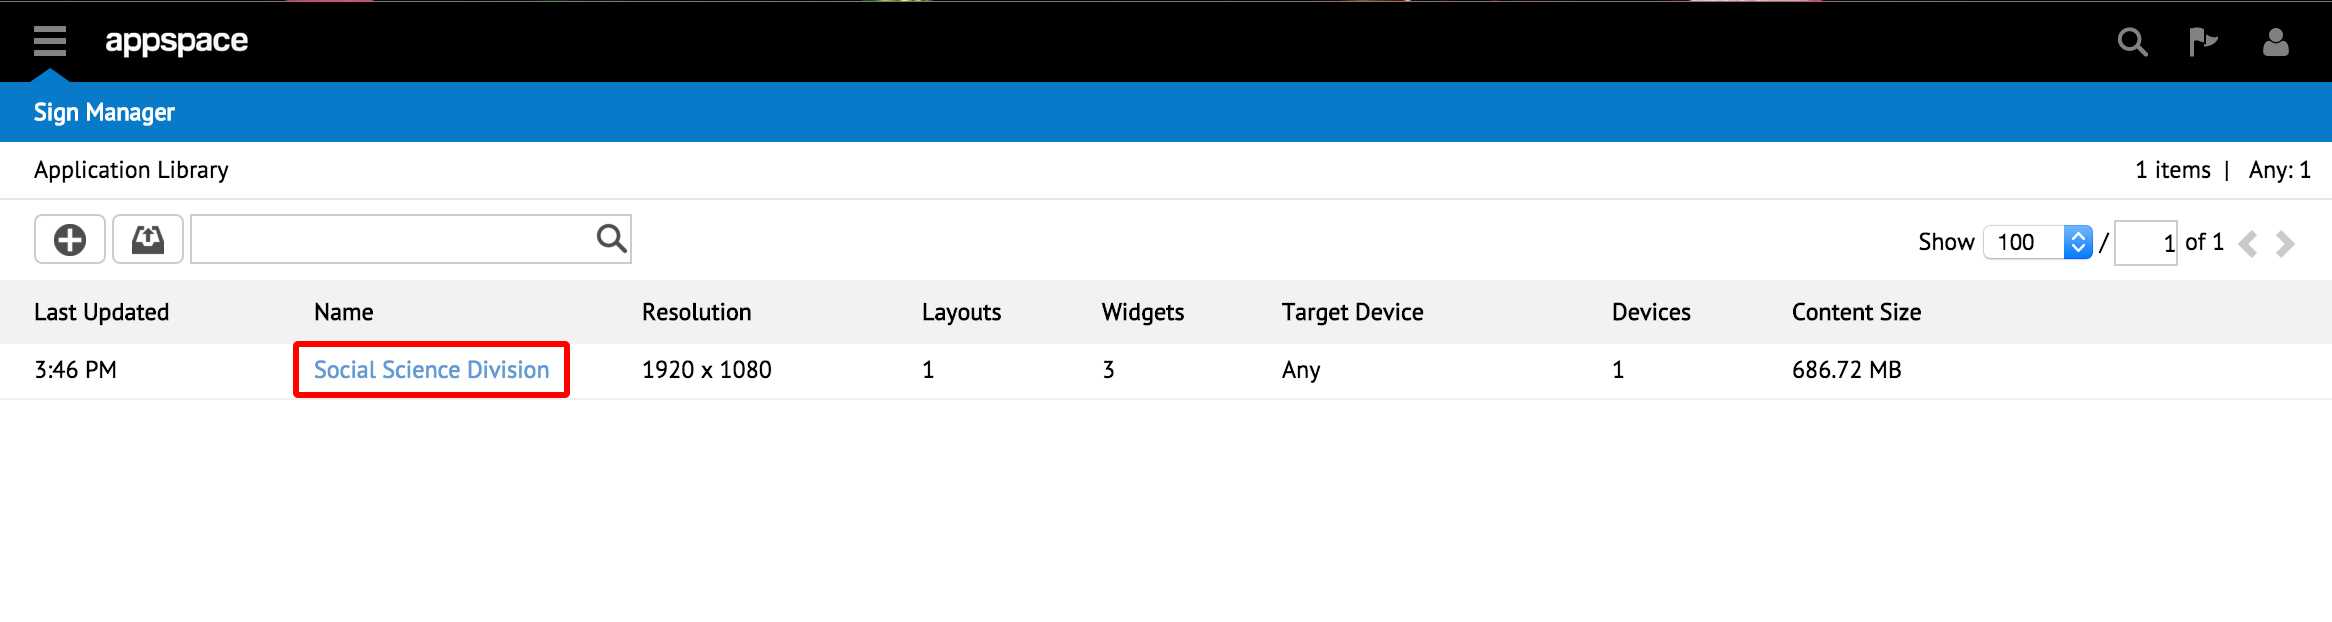
Select Sign Manager from the top dropdown menu.

Click on the Sign Application that you would like to edit.
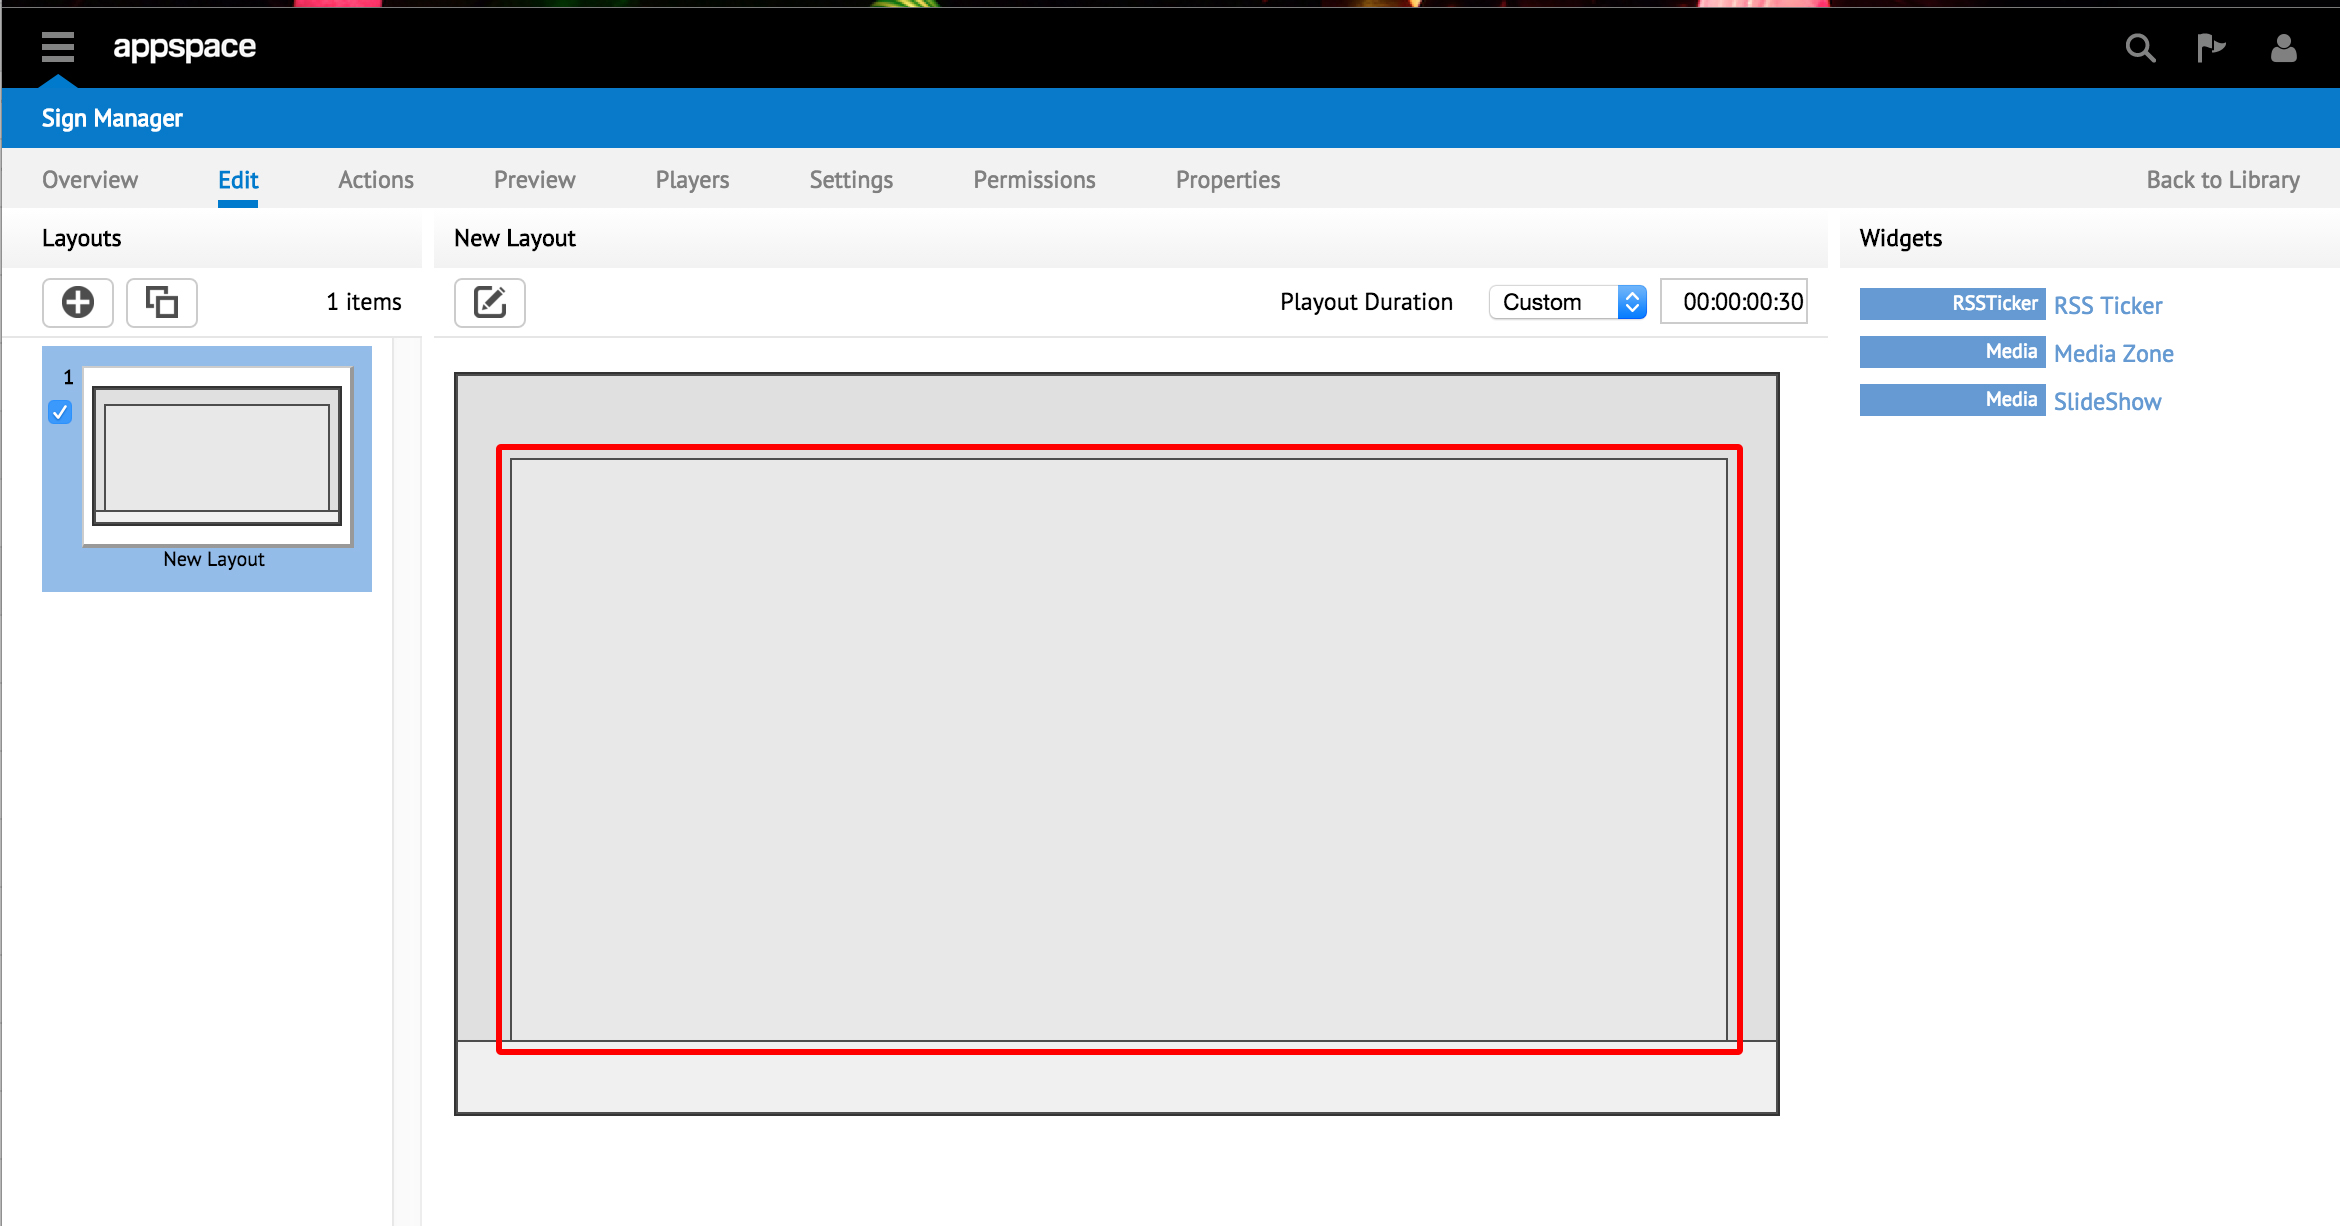
Click on the Edit tab.
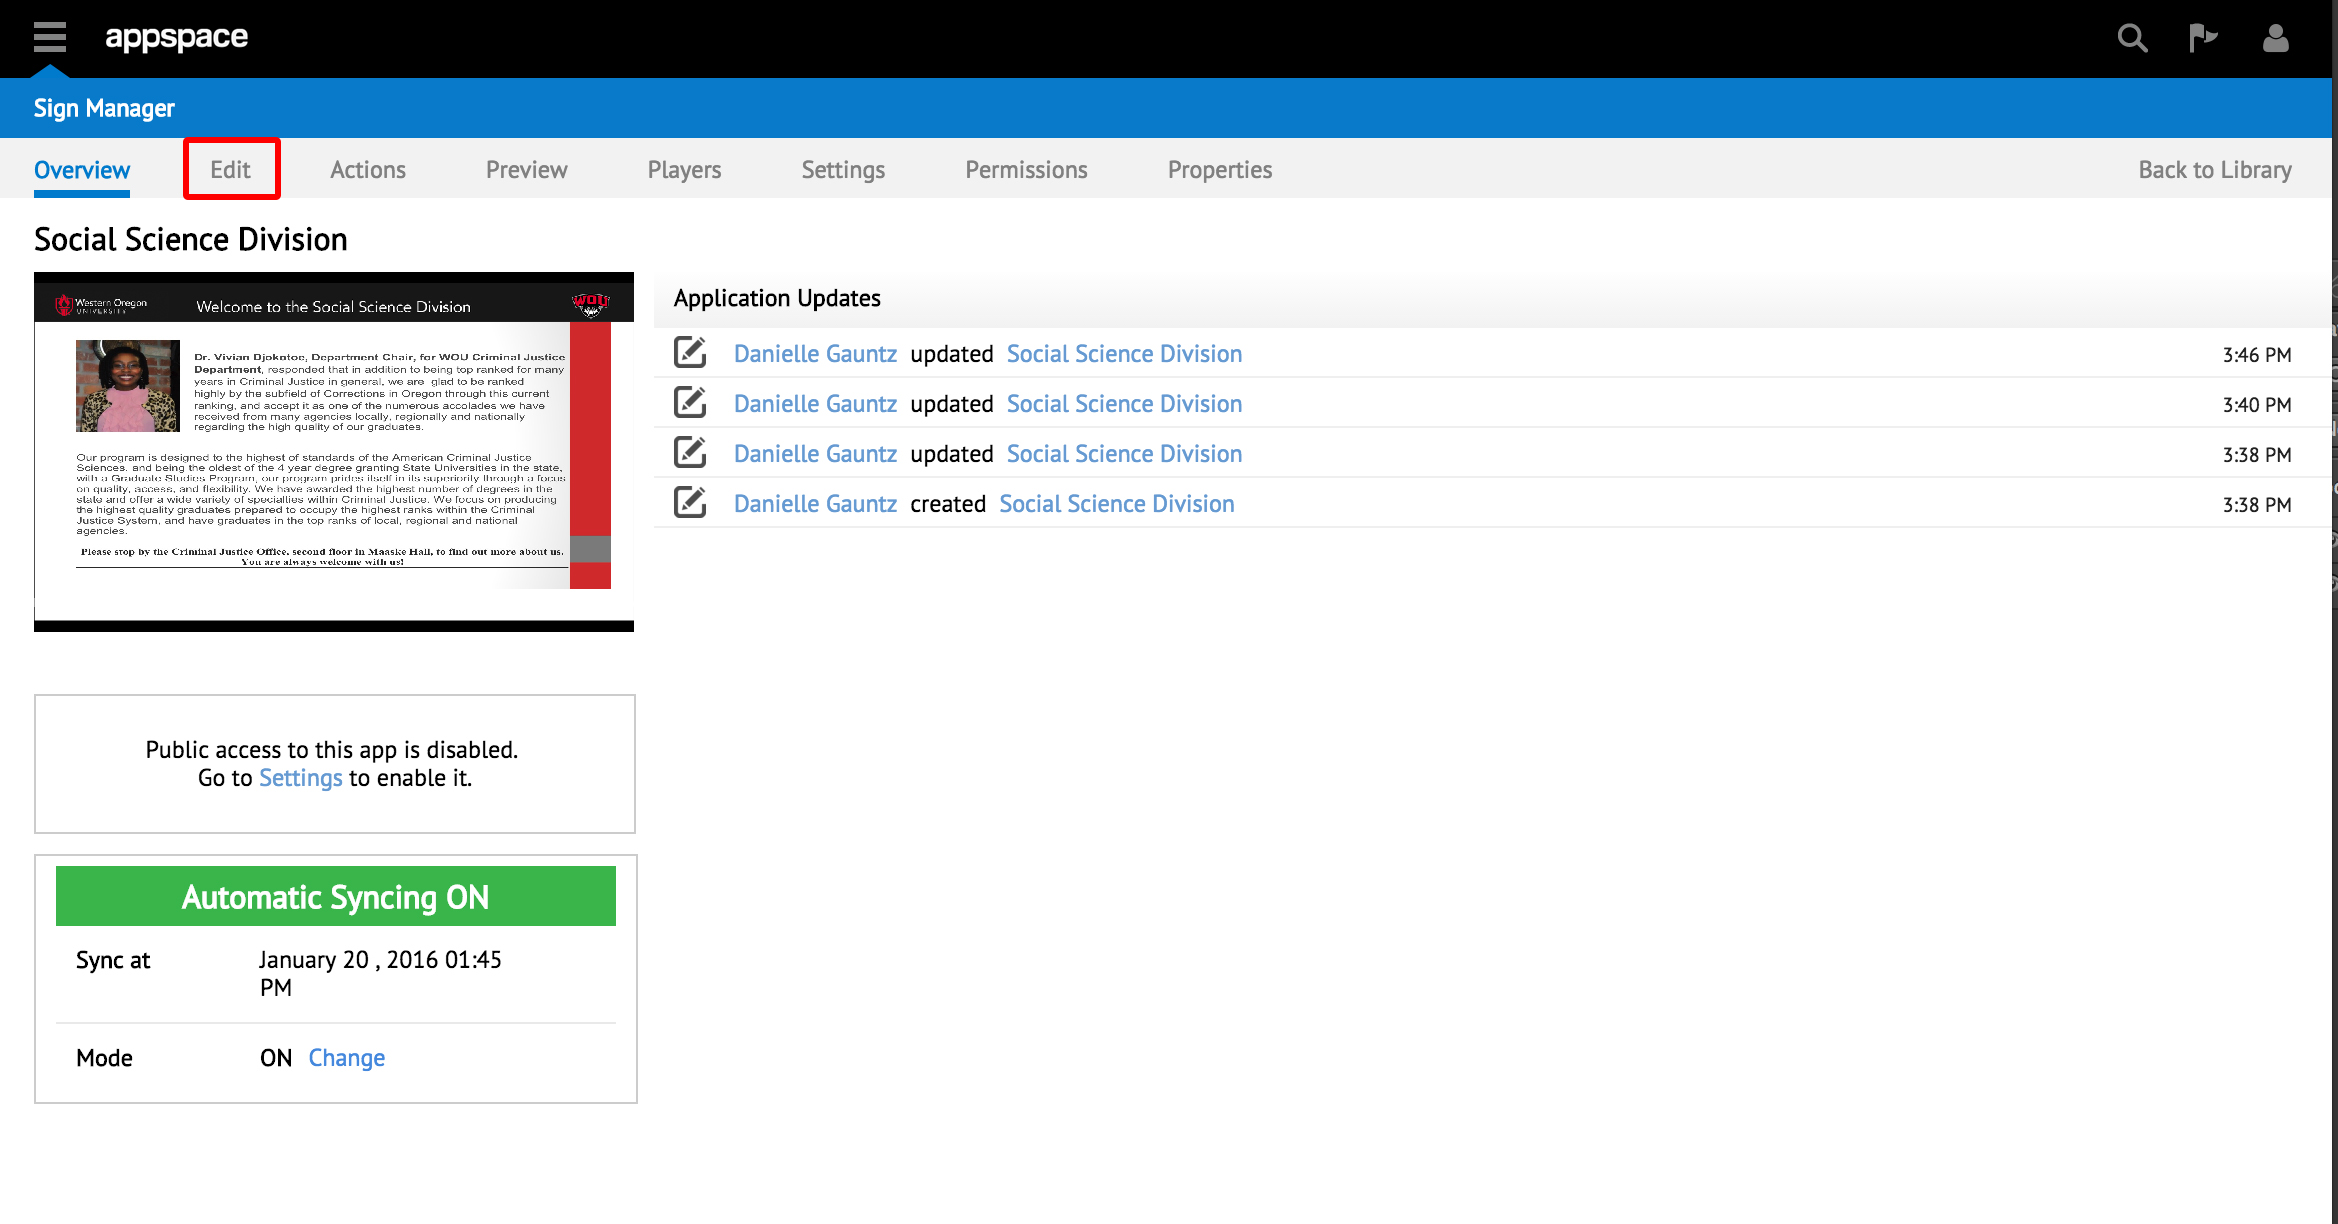
Click on the Media Zone that you want to add the media to.
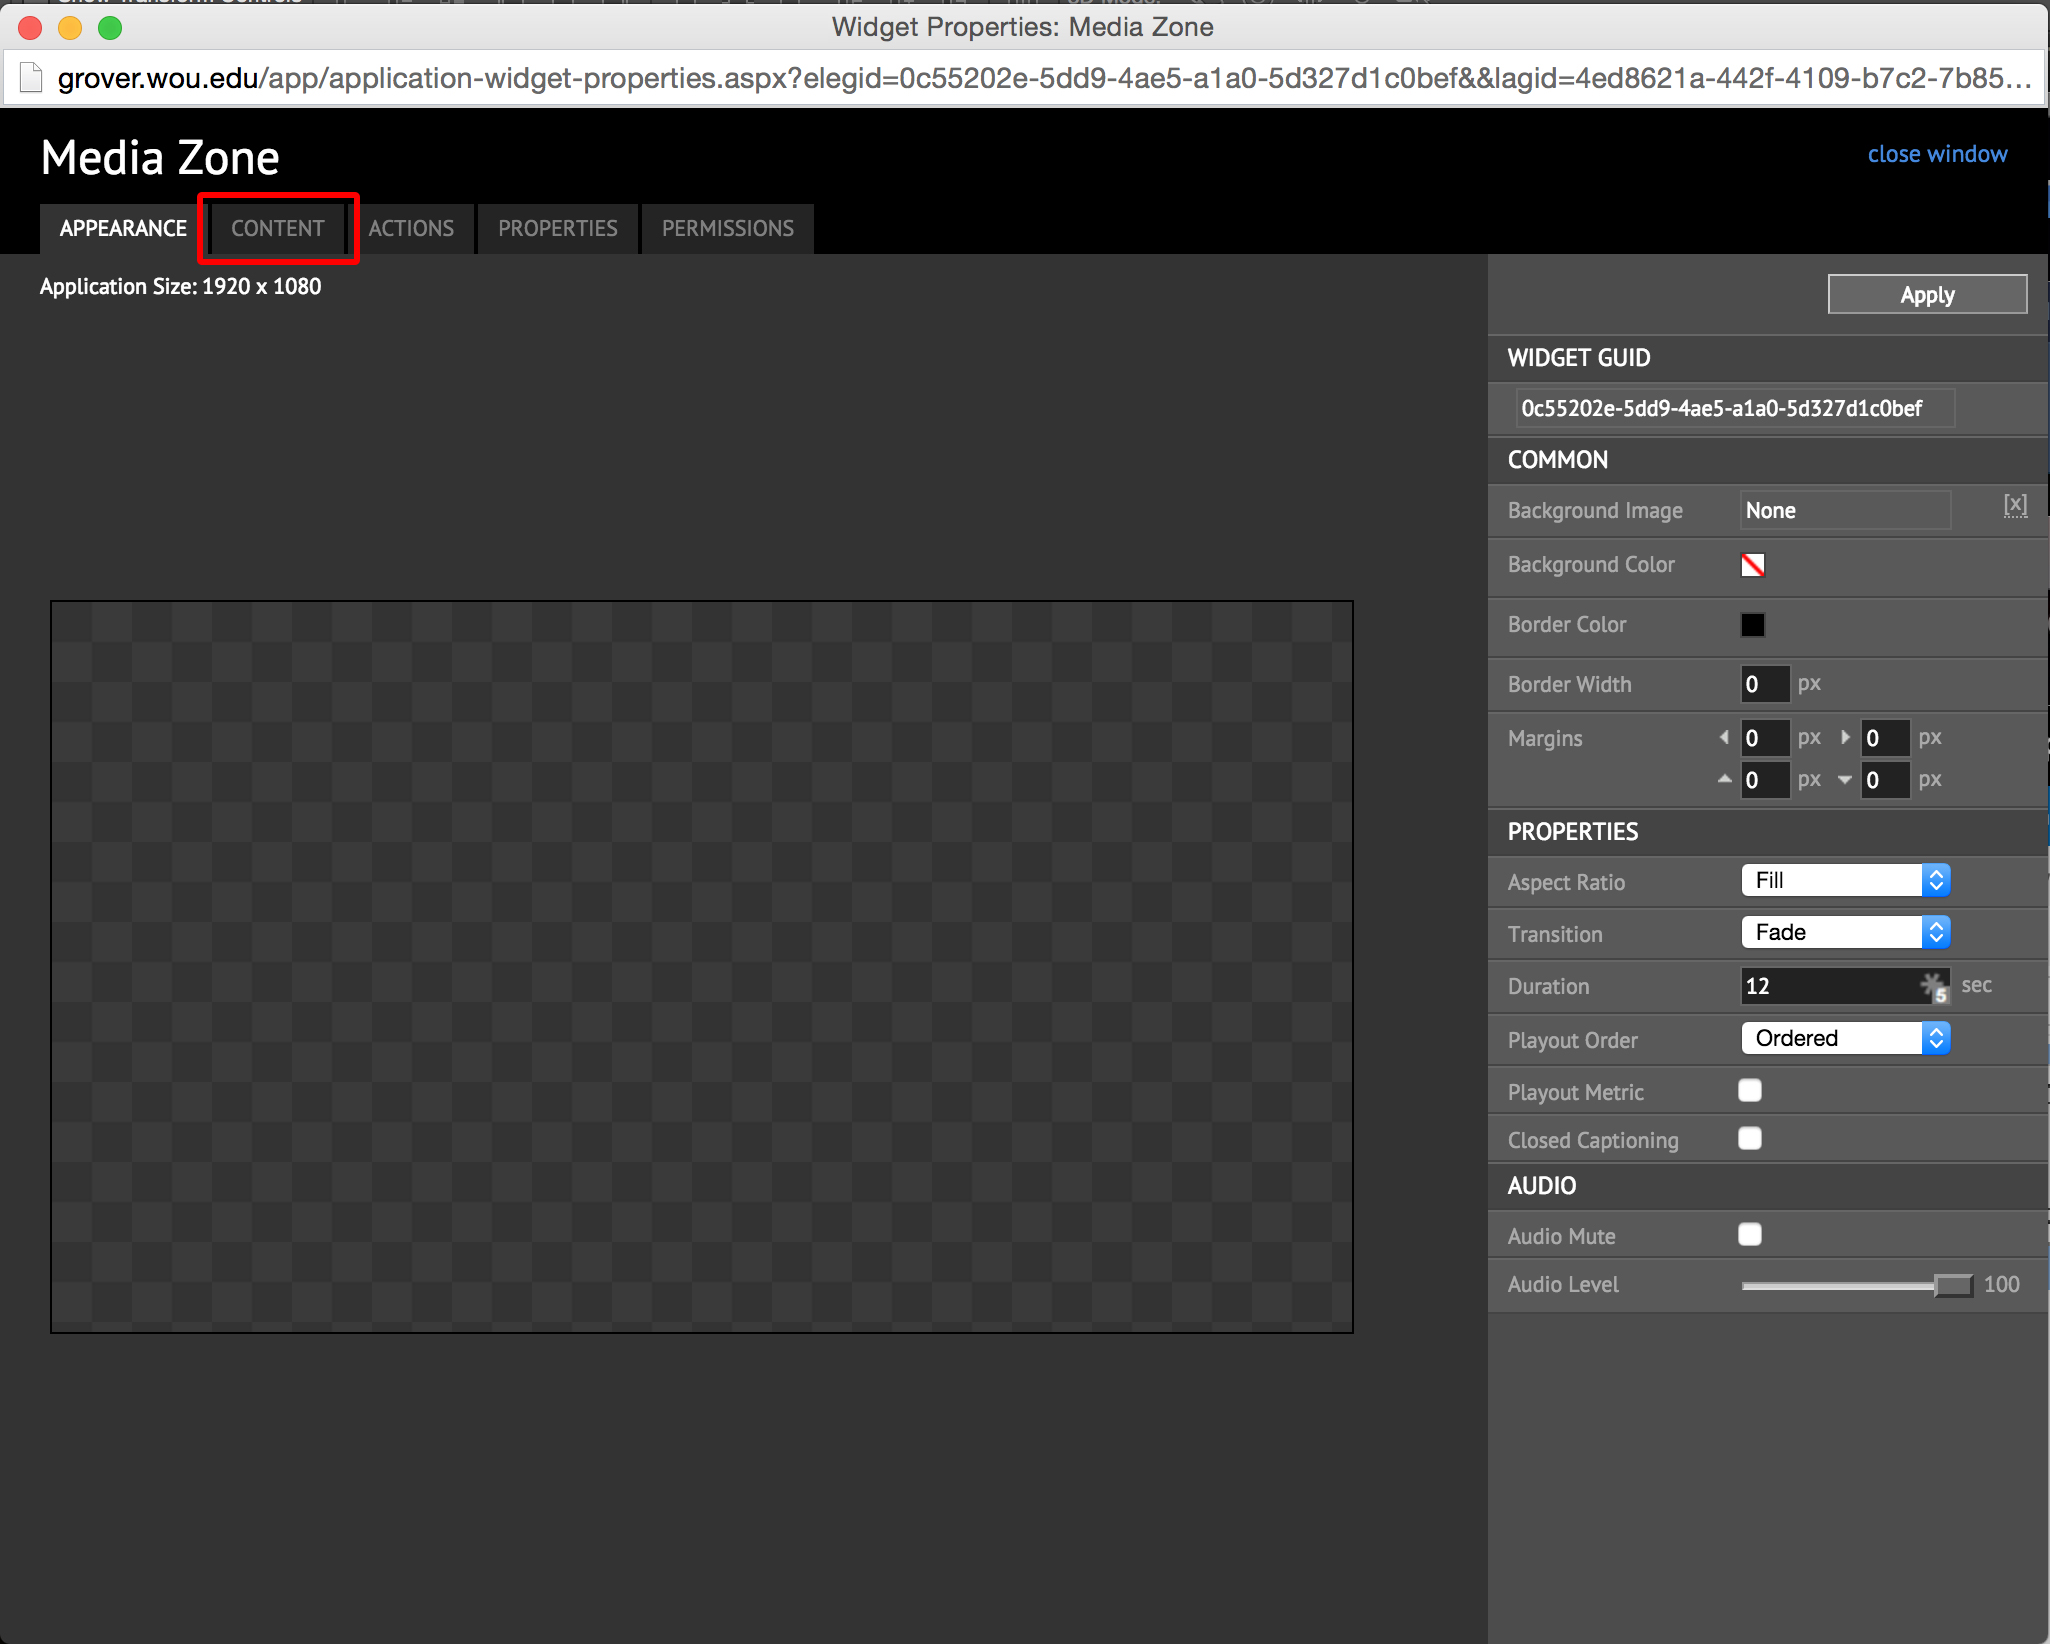
Select the Content tab.
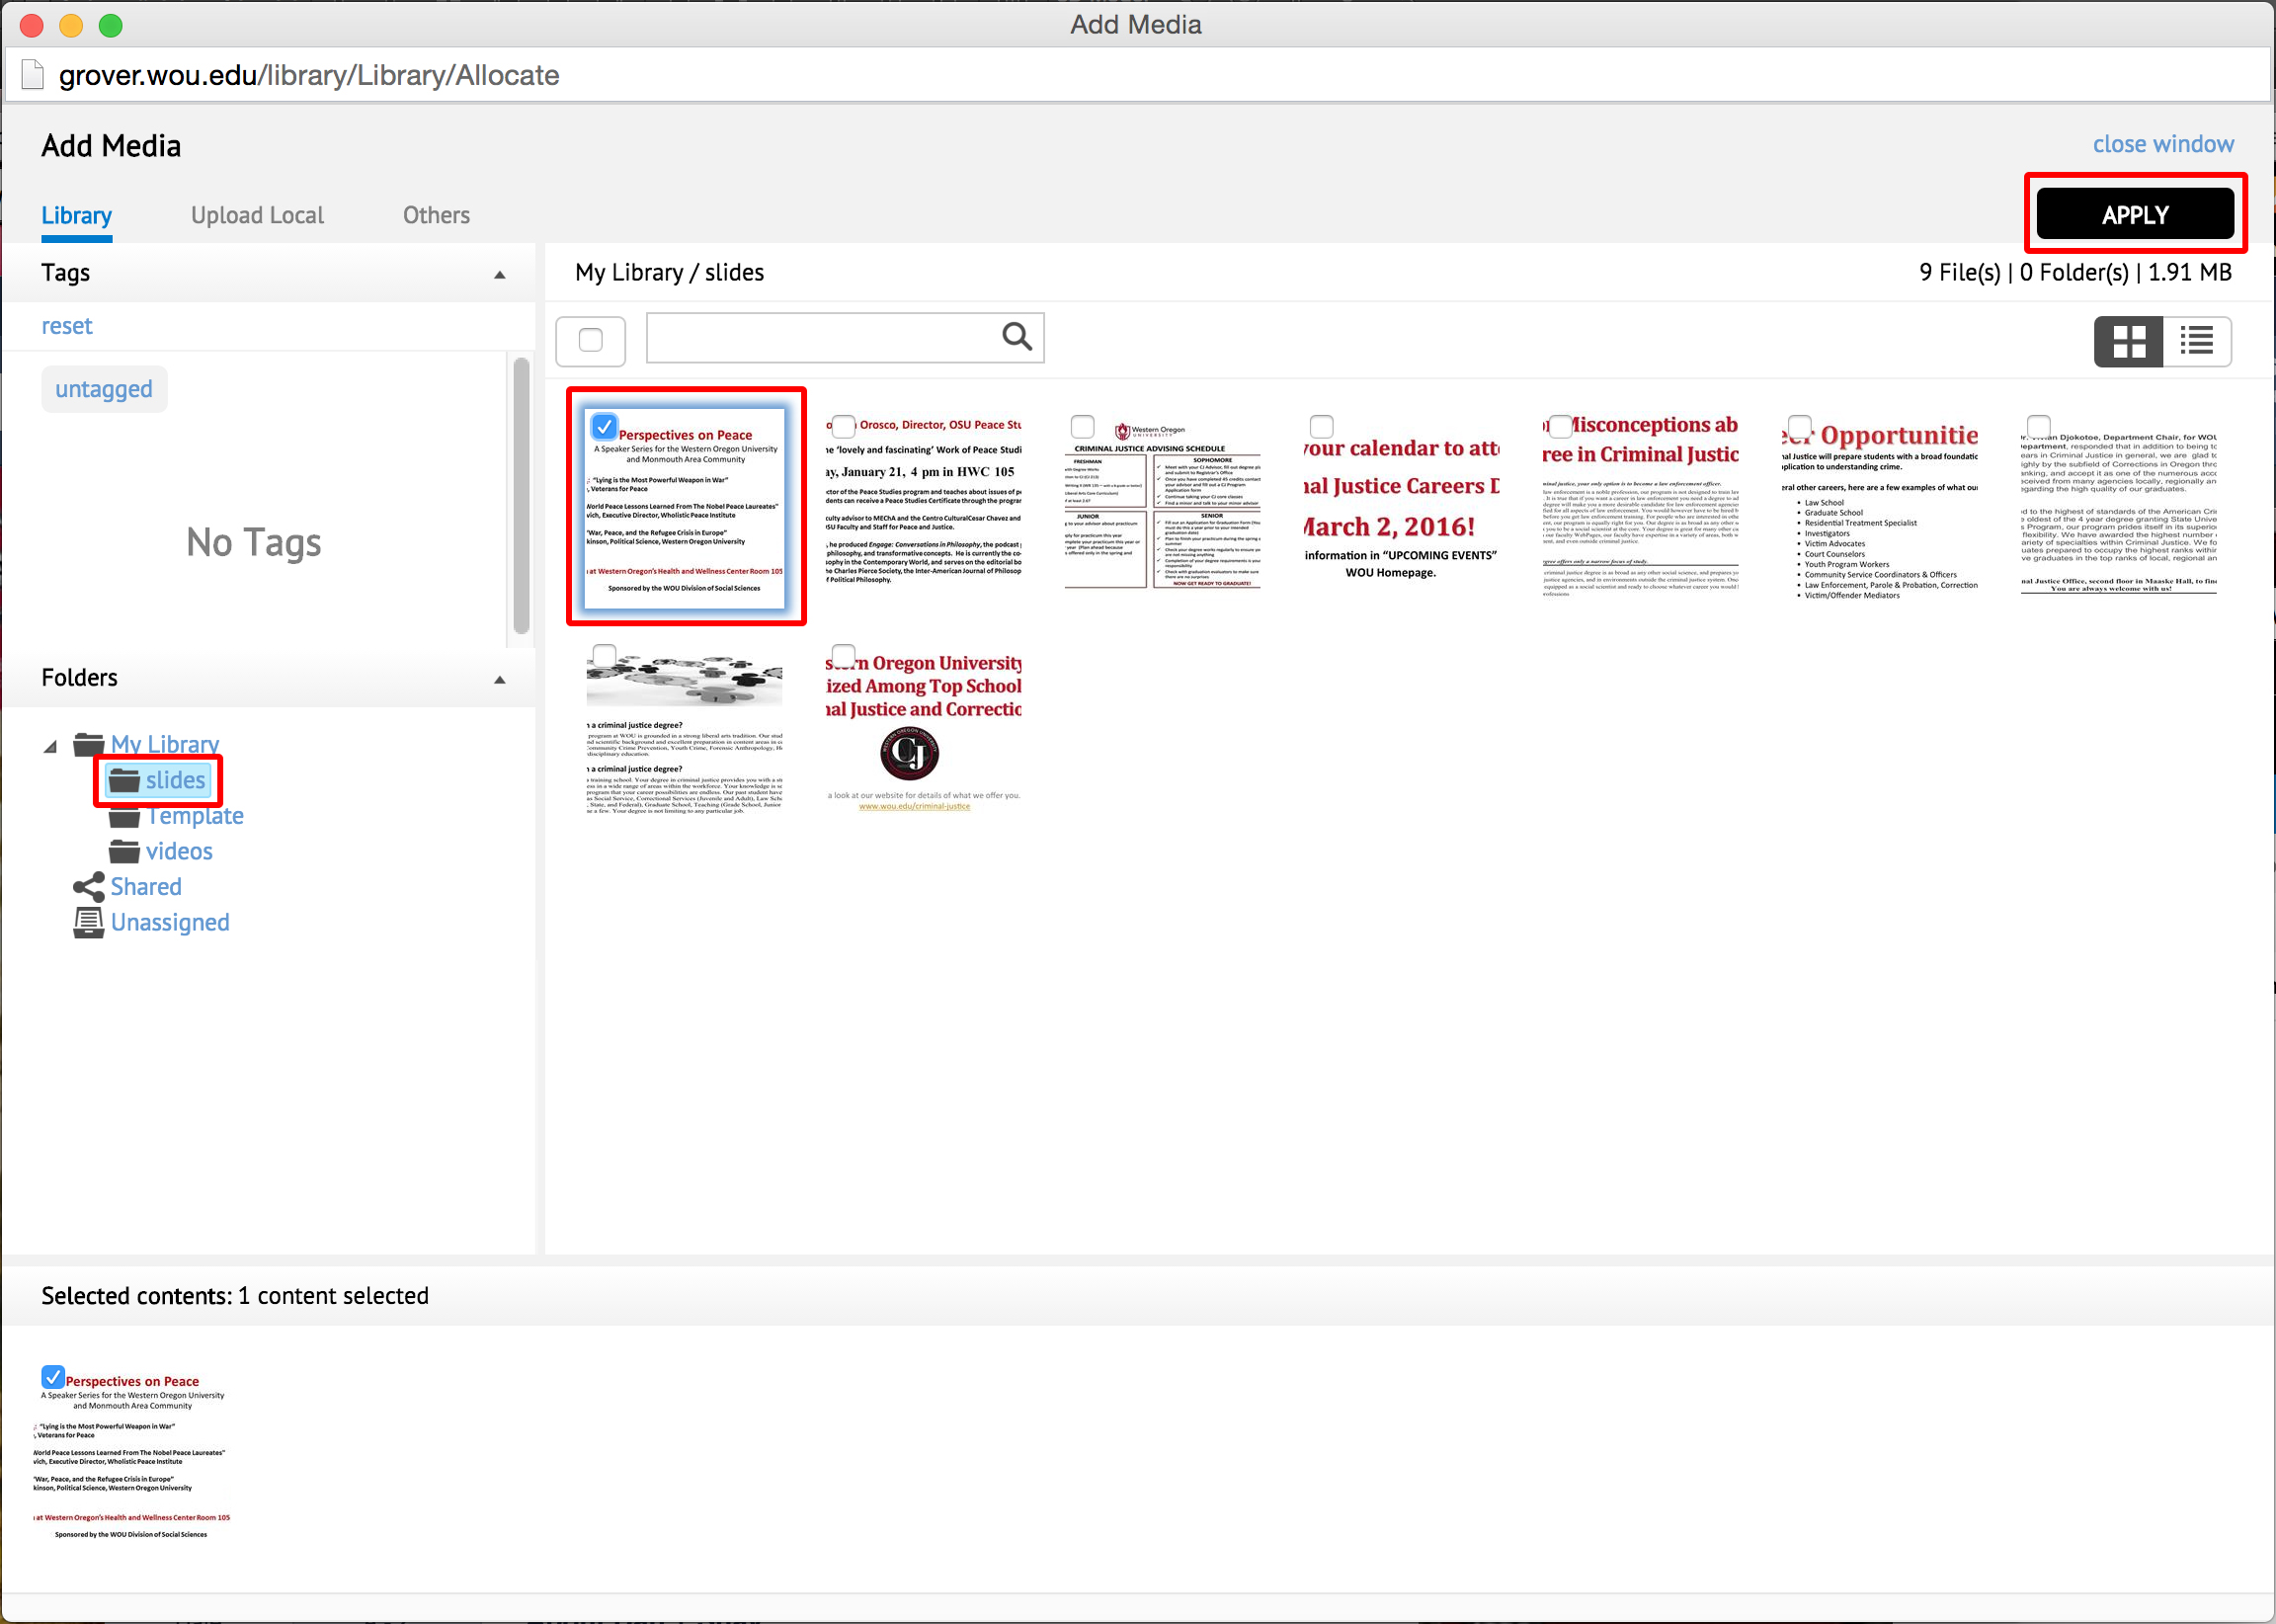
Select the media that you would like to add.
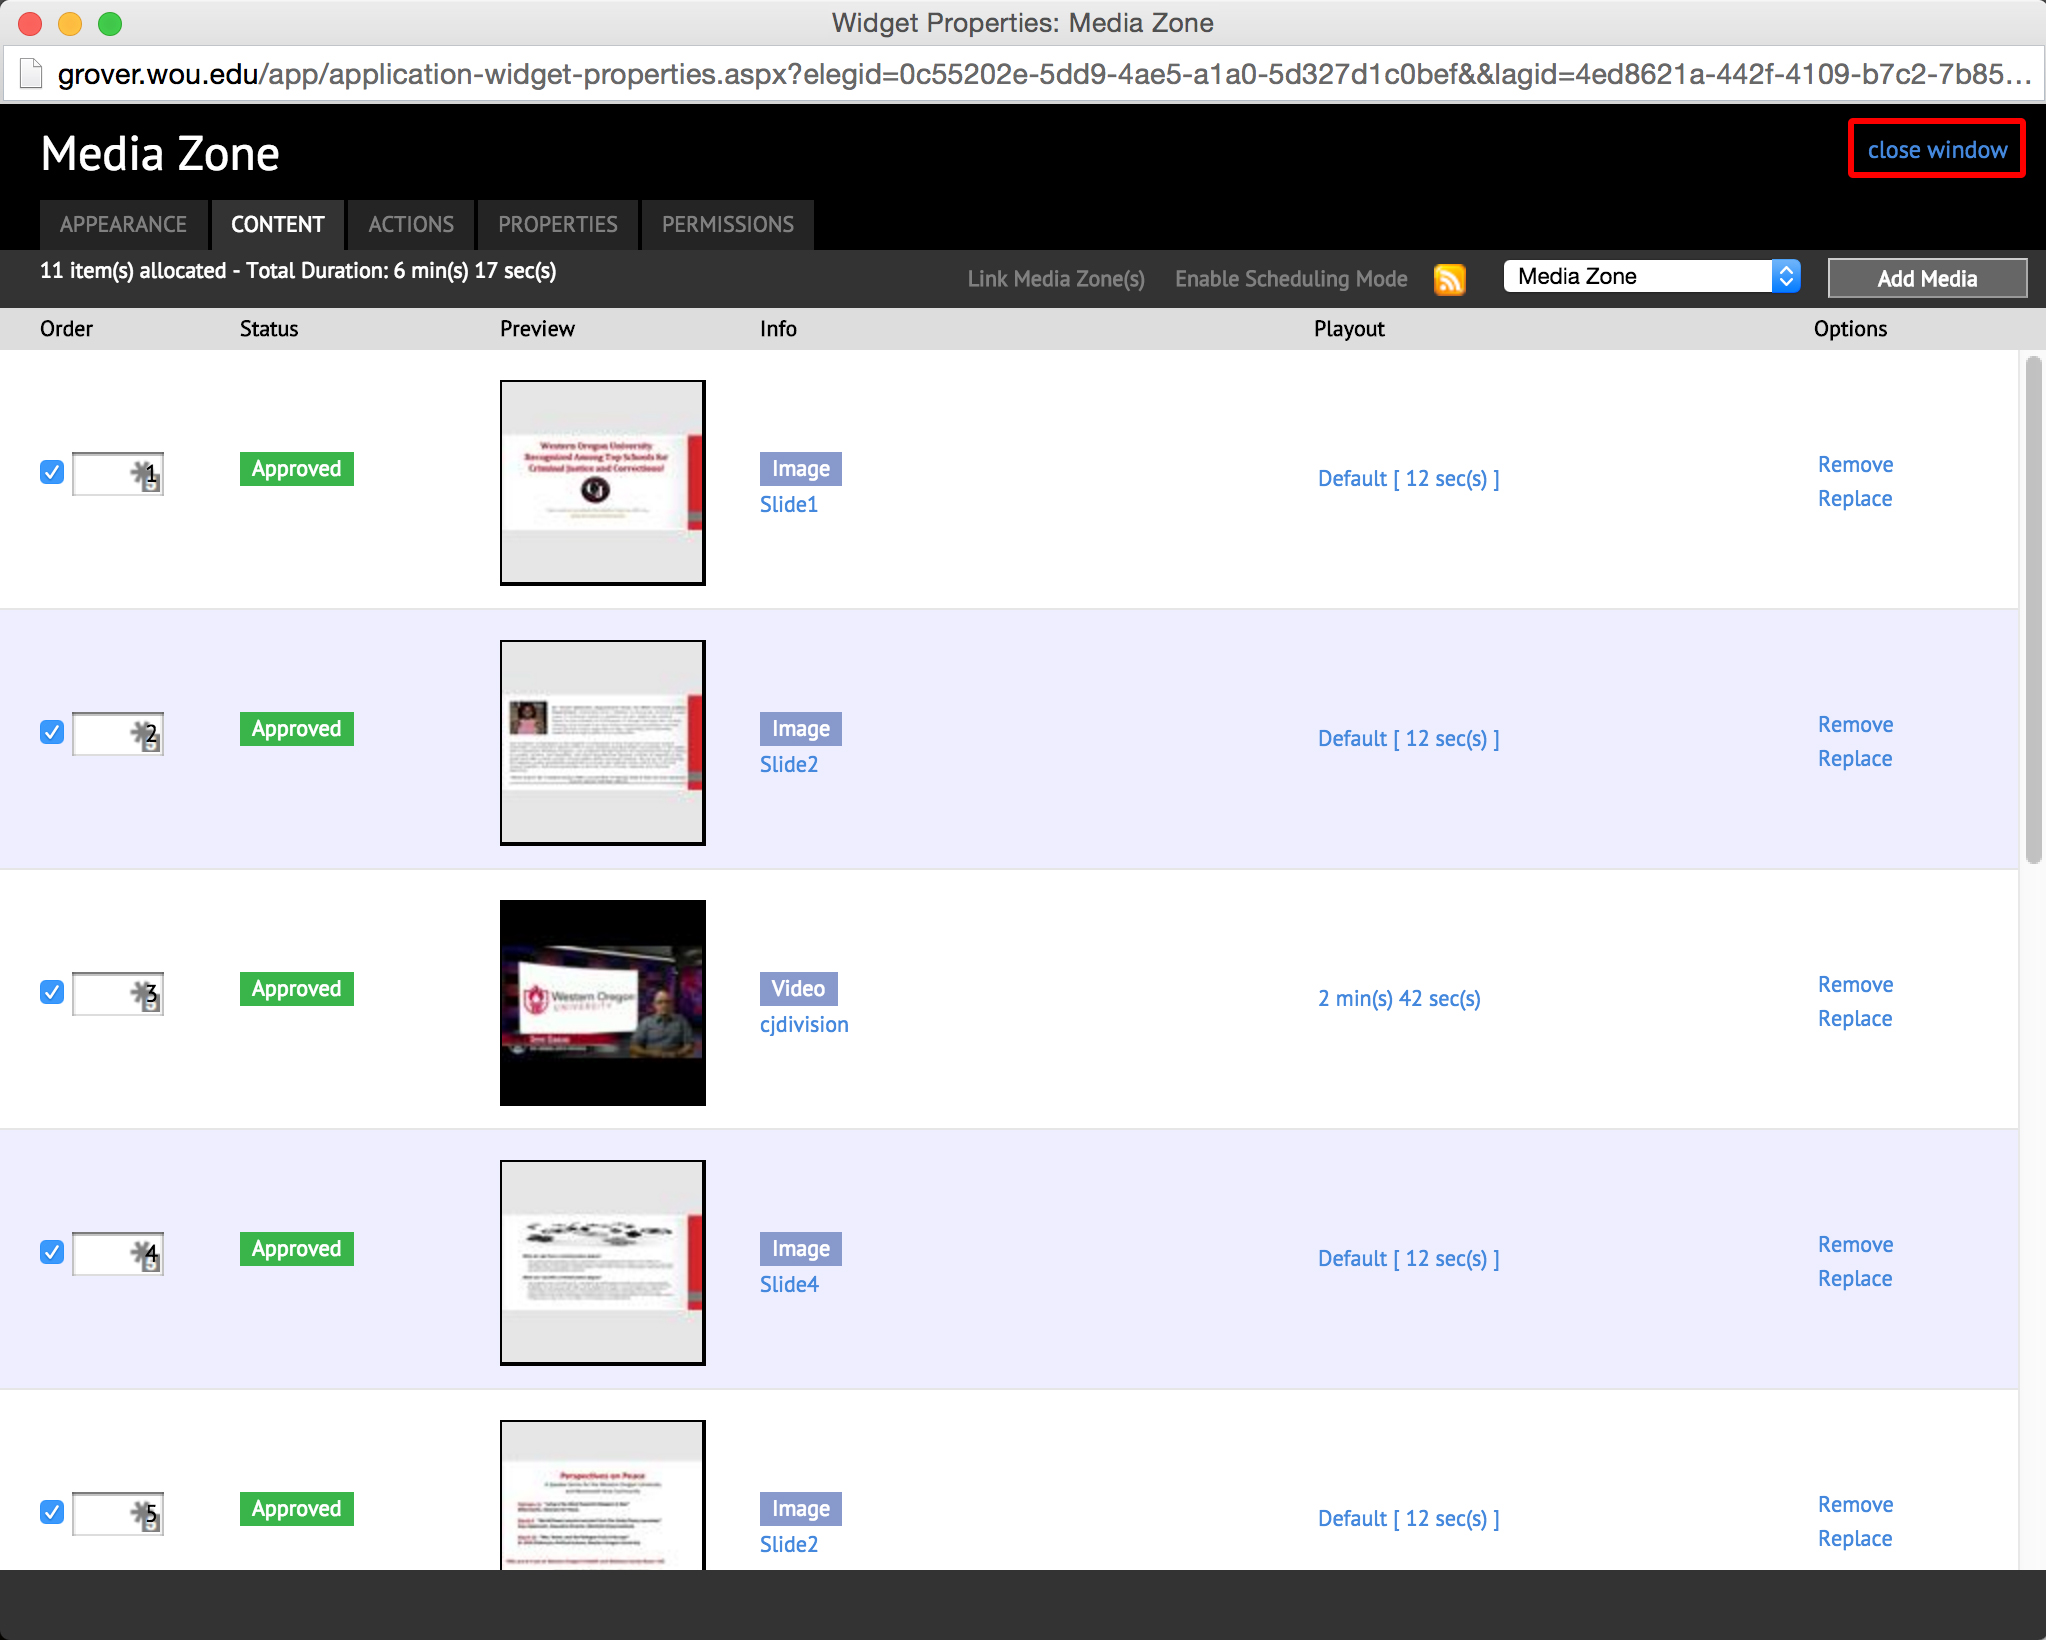
You can rearrange the order of the slide by dragging and dropping them where you would like and if you would like to remove a slide you can click on the Remove link to the right. Then click close window when done.
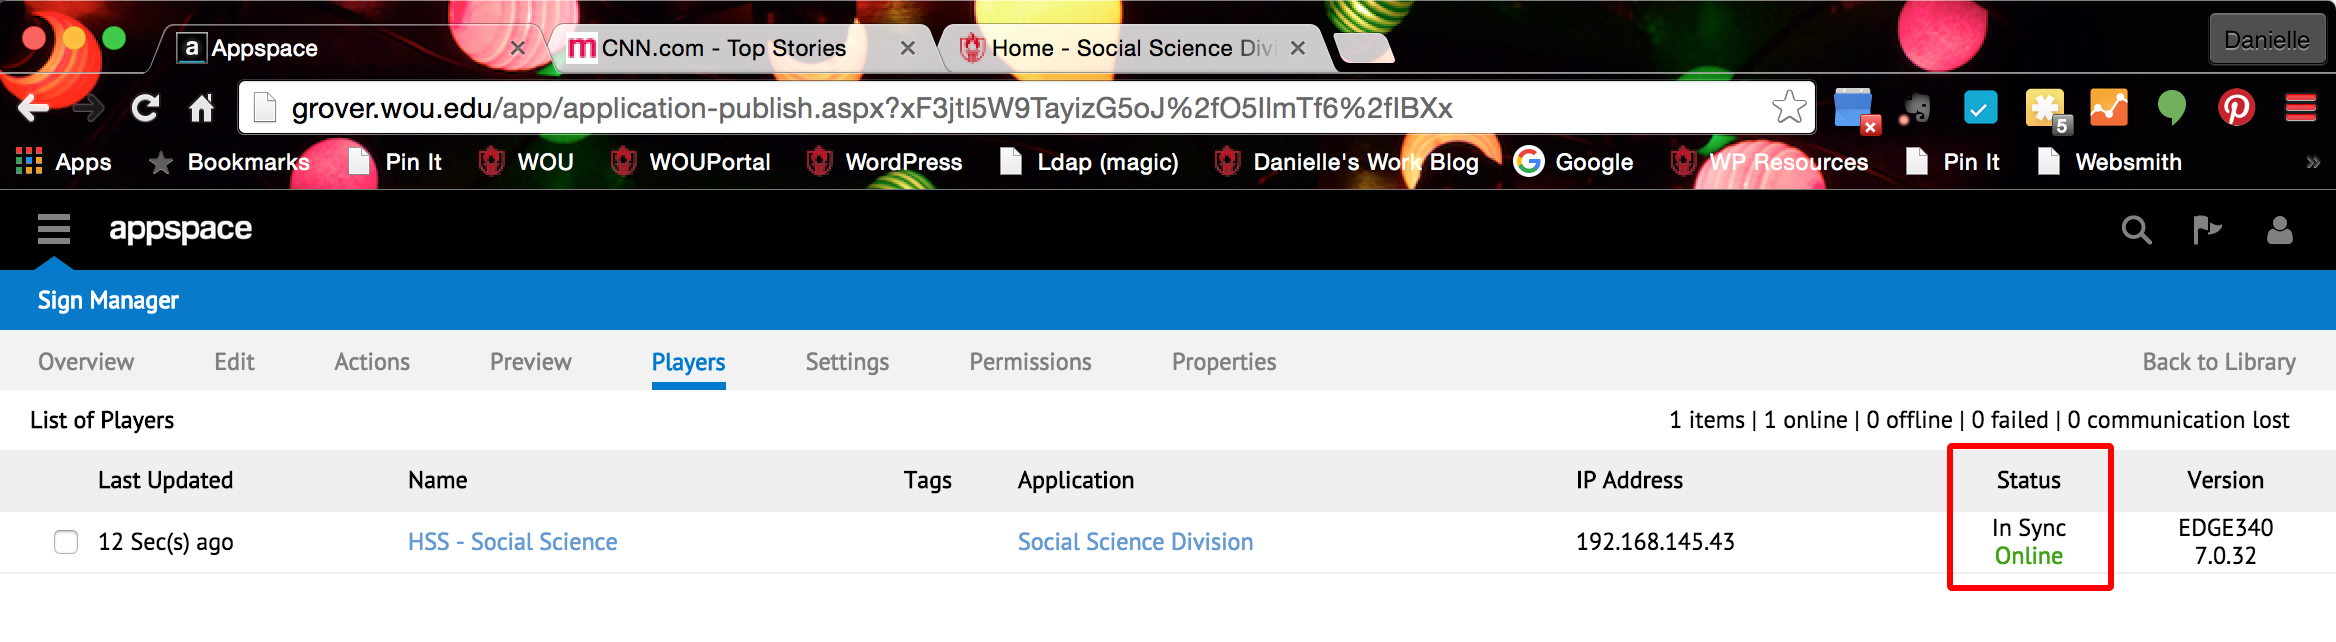
To see if you Digital Signage is updated click on the Players tab and you can view the Status there. It will either say Out Of Sync or In Sync and depending on how large the files are that you added it shouldn’t take longer than 15 min to become In Sync.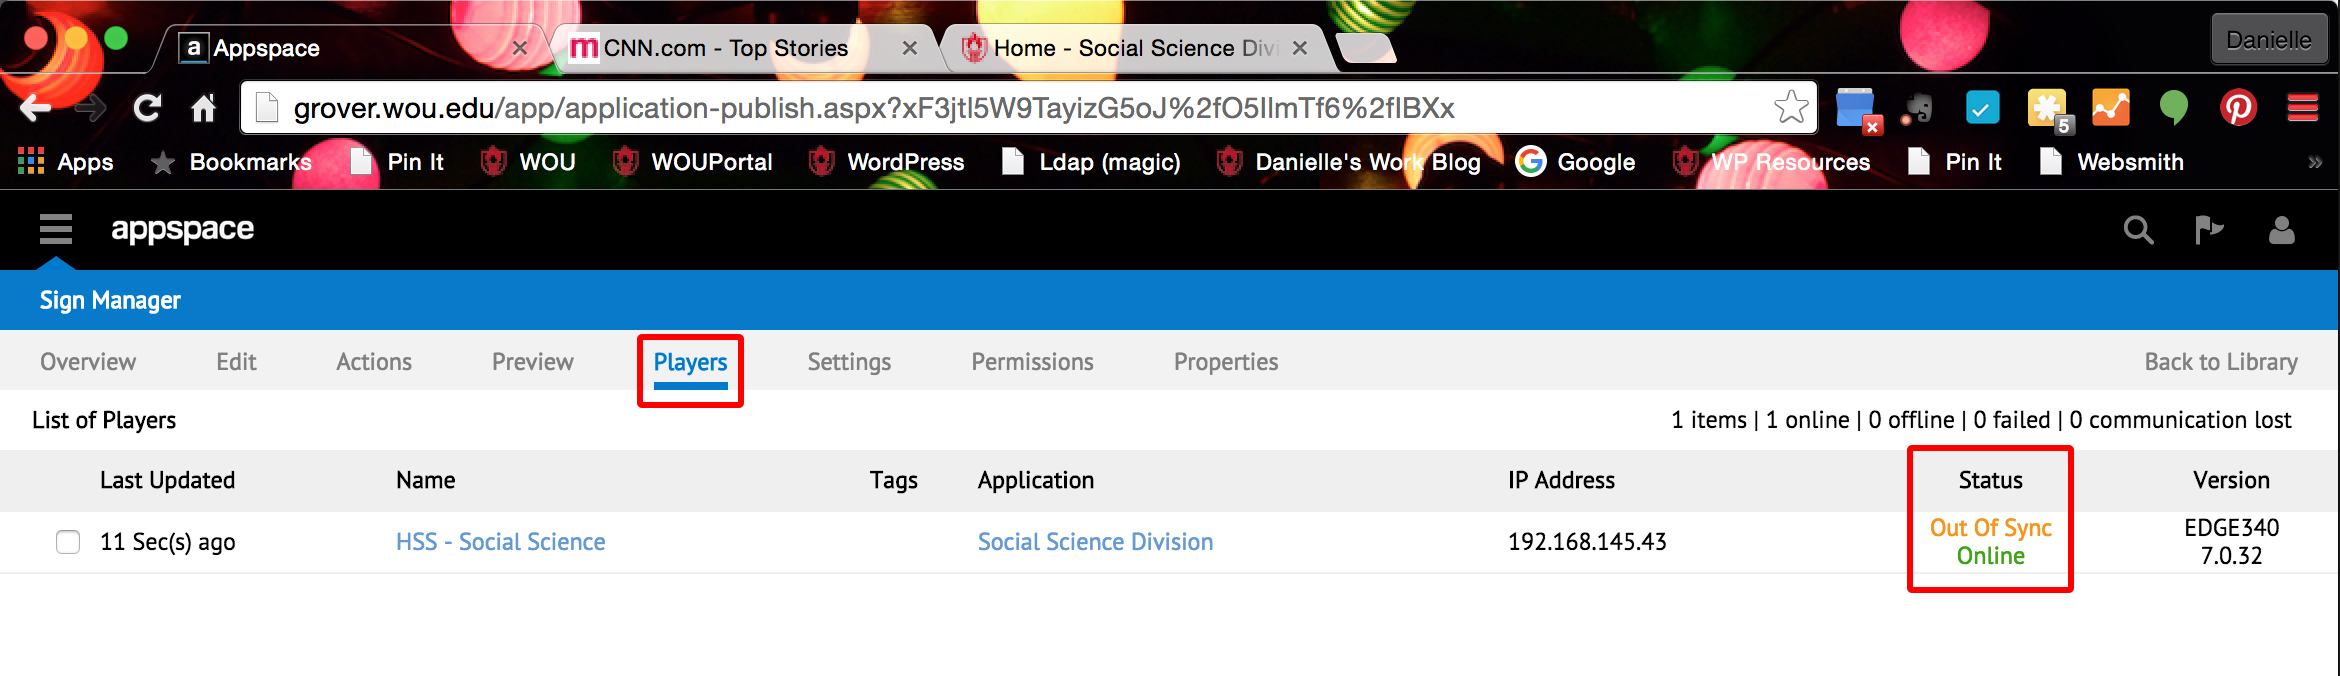
Glossary of Terms
Page Groups – a custom content type that stores the page settings for groups of pages. Think of a page group as a department. If content is in appropriate to a group, it can be left blank and will not display. Grouped content includes:
If you would like to add a white border with a drop shadow to an image you can either open the .php page in Dreamweaver or do it in Contribute.
Open the .php page and add the class white_border to the image tag.
Example:
<img class=”white_border” src=”https://wou.edu/press_release/home_page/spotlight_images/distracted.jpg” />
Select the image that you would like to add the white border and shadow to and then select white_border from the styles dropdown at the top and then once you hit publishe and refresh the webpage you should see the image now having the white border with a dropshadow.
If you would like to send someone a link to a specific wouTV video go to wou.edu/woutv and click on the i in-front of the title of the video. In the box that appears is where you will find the direct link to send to people. View the image below. 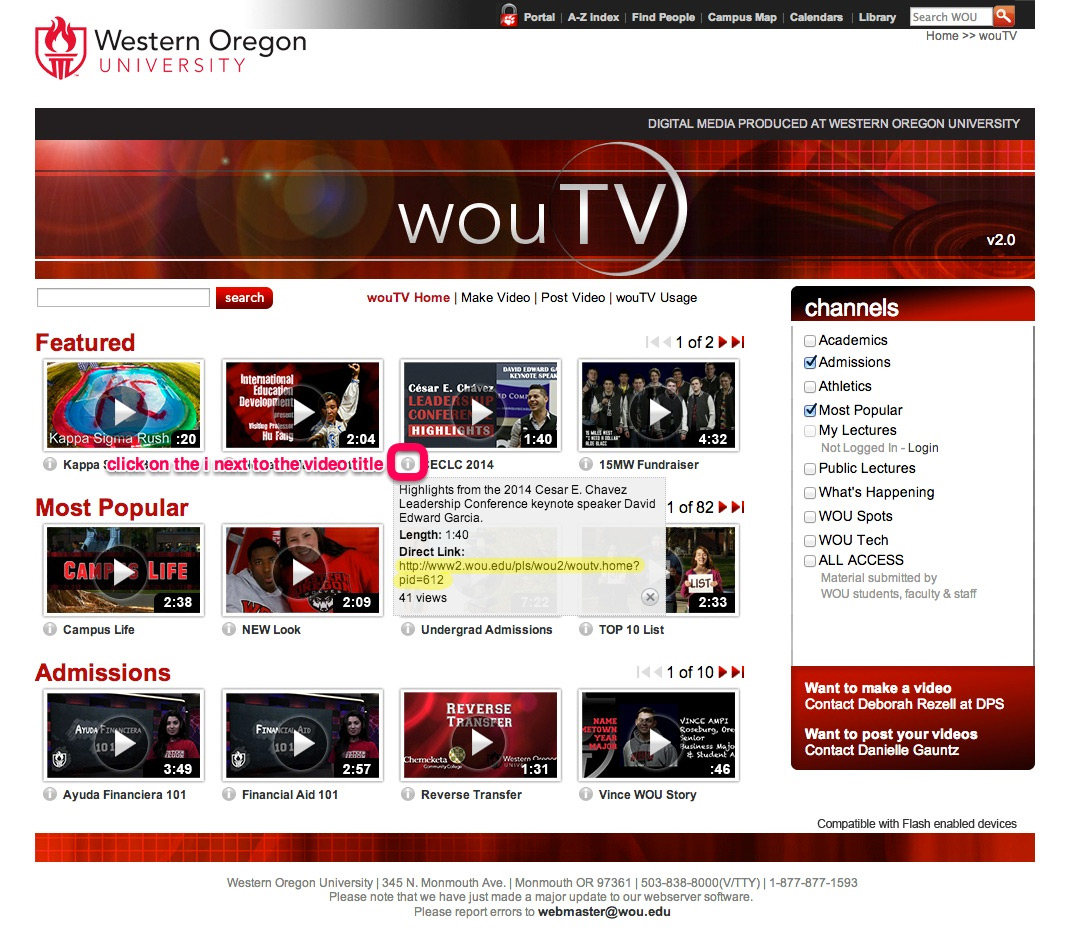
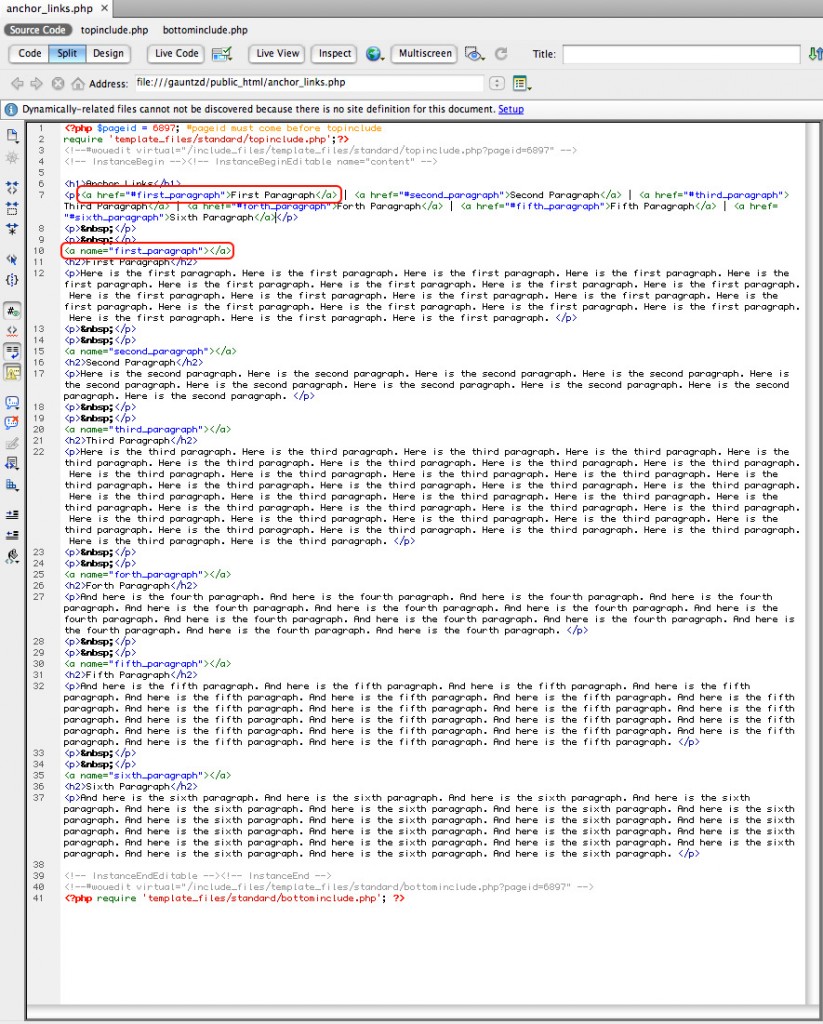
To add anchor links in Dreamweaver you first need to have both the section you want to anchor the link to and the text you want to link. Go to the section you want it to link to and in the code view of Dreamweaver enter <a name=”your-anchor-name-here“></a>
Then go to the link and put <a href=”#your-anchor-name-here“>Link for your anchor here</a>
Here is an example page using anchor links, https://wou.edu/~gauntzd/anchor_links.php
The image below shows the code in Dreamweaver.
You will need to log on to the remote desktop, ts.wou.edu. Open Dreamweaver and create a new HTML page. Save the page on your Public drive as email.html. Also save the image on your Public drive in the images folder (you may have to create this if it does not already exist). The path of your image will then be https://wou.edu/~your_username/images/name_of_your_image.jpg
In Dreamweaver add this code right after the
<body>
<a href=”http://www.put_your_link_here.com”><img src=”https://wou.edu/~your_username/images/name_of_your_image.jpg” /></a>
</body>
Open a browser window and go to https://wou.edu/~your_username/email.html
Then go under the edit menu and click on “Select all” from the drop down. Then go back under the edit menu again and click on “Copy”. Open your email and put the courser where you would like the image to appear and go under the edit menu and click on “Paste”. Your image should have appeared in the body of the email. You can do a quick test email to yourself to make sure that the image shows up and that the test link works.
Click on the video below to watch a tutorial on how to add a Slideshow to your website using WordPress.
Please feel free to email me if you have any questions, gauntzd@wou.edu.
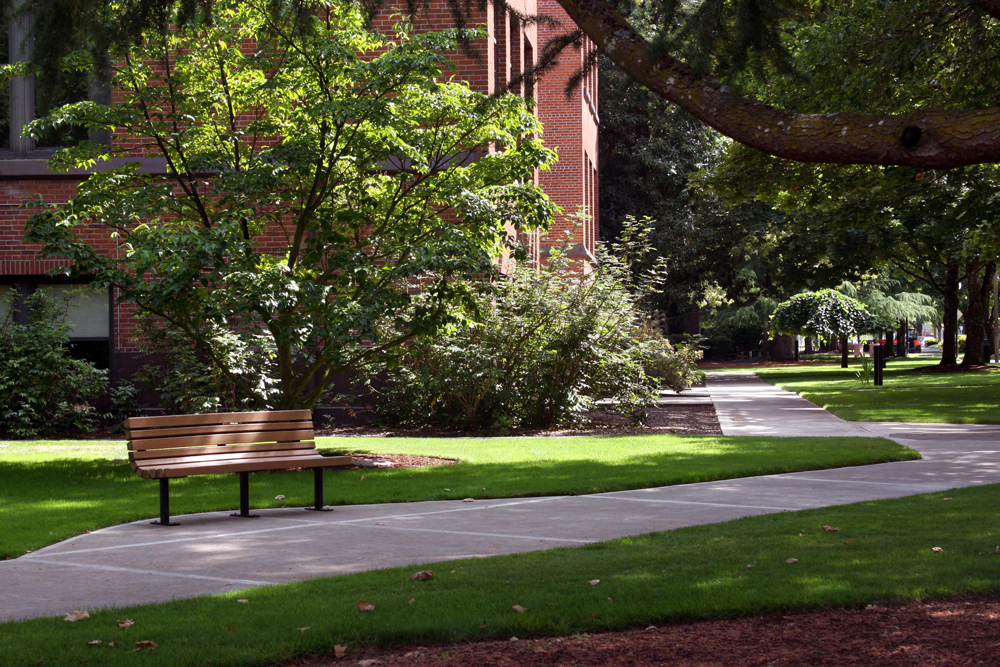
Relax at beautiful Western
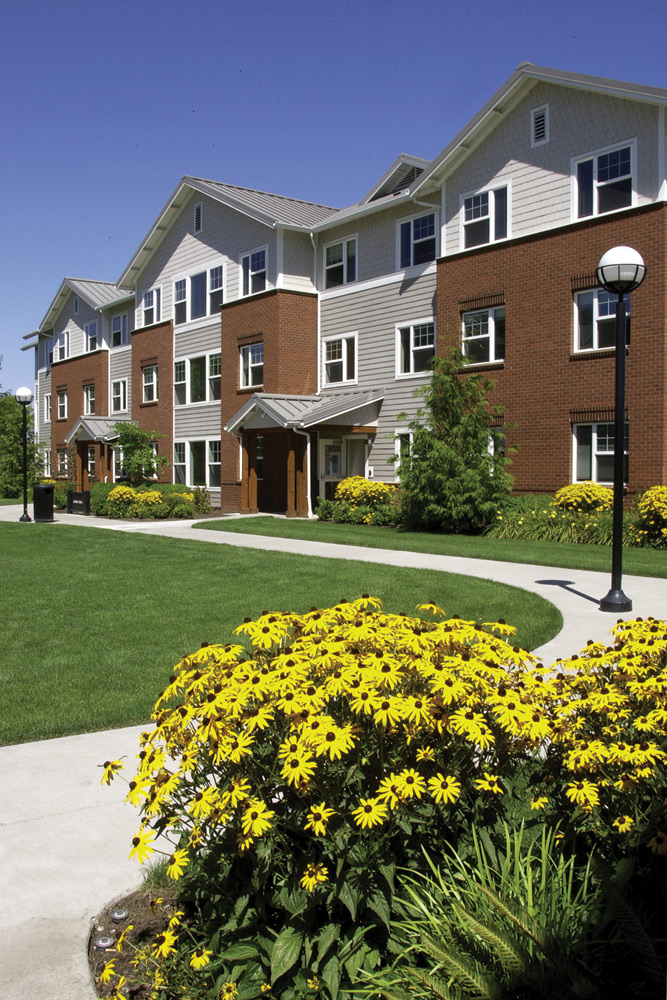
Nice apartments available to Western students

Western’s campus from above
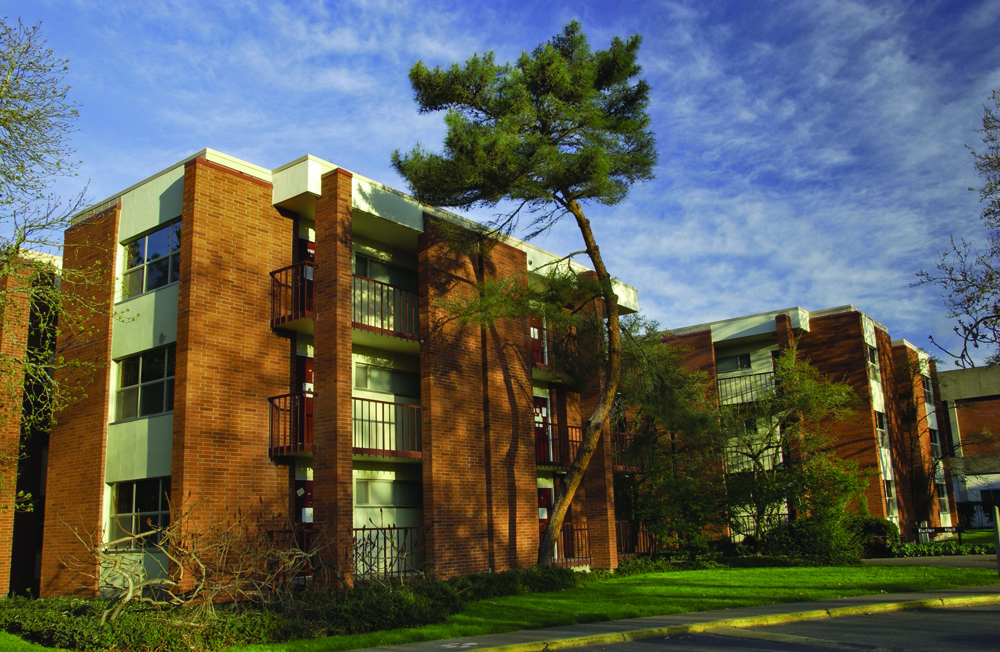
One of Western’s many dormitories.