

Edit the page or post that you would like to add an image to. Then put your cursor in the location where you would like the image to appear and click on the Add Media button at the top.

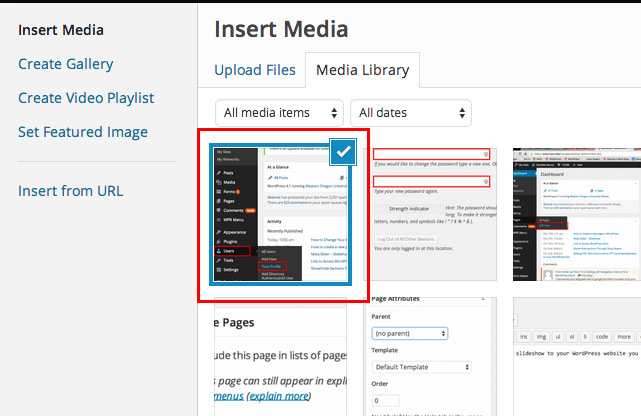
Then select the image you would like to insert.
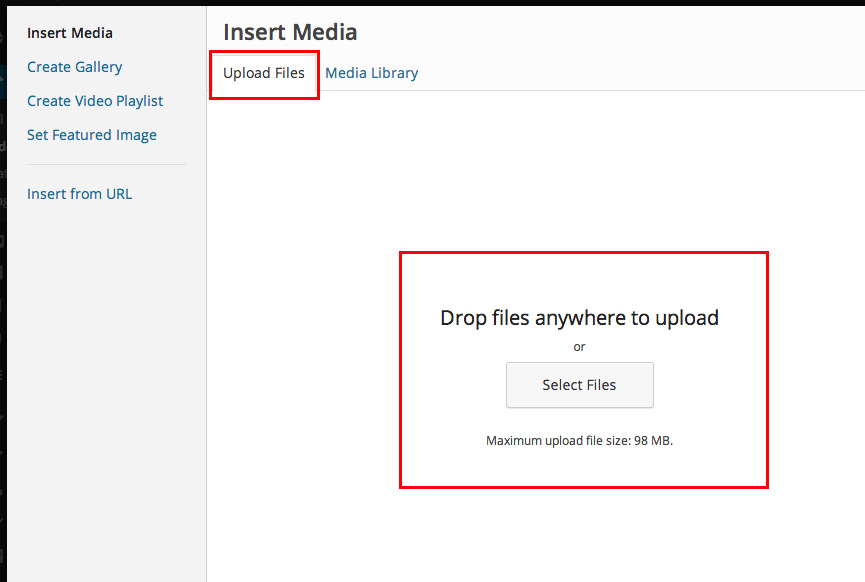
If you haven’t uploaded your image yet you can do so by selecting the tab at the top that says Upload Files. Then either drag and drop your files there or click on the Select Files button.
Then select the image you would like to insert and you can replace the Title (this is what appears when someone hovers over the image) You can add Alt Text (this helps with accessability for people who can not see). Then under the ATTACHMENT DISPLAY SETTINGS you can select the Alignment (this alows the picture to either float to the left/right of your image or centered). If you would like to Link To something from that dropdown select either a media file, attachment page, or a custom url. You can also select the size here as well. Once you are done with that click on the Insert into post button.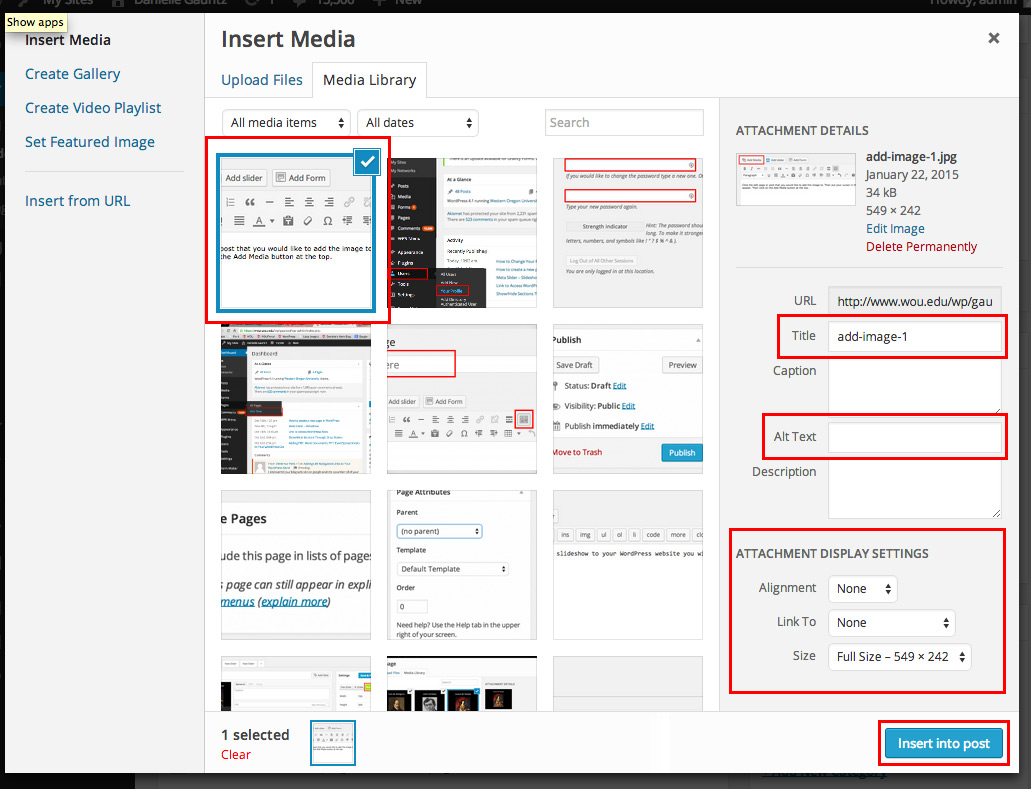
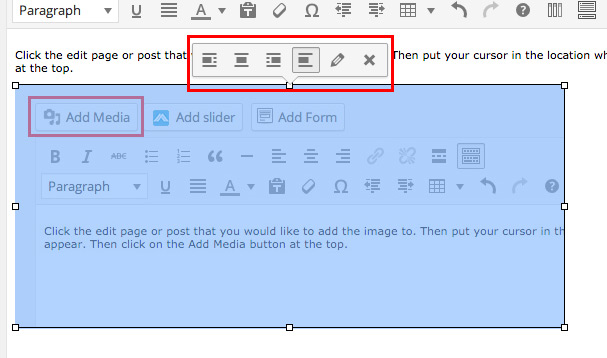
The image should now appear. You can edit the image by clicking on it and a dialog box will appear. From that menu you can change the alignment or click on the pencil to edit it. You can also click on the X if you would like to remove it. To move an image you can drag and drop it to where you would like it to go.
Thank you, this was very helpful!